 Save to Pinterest
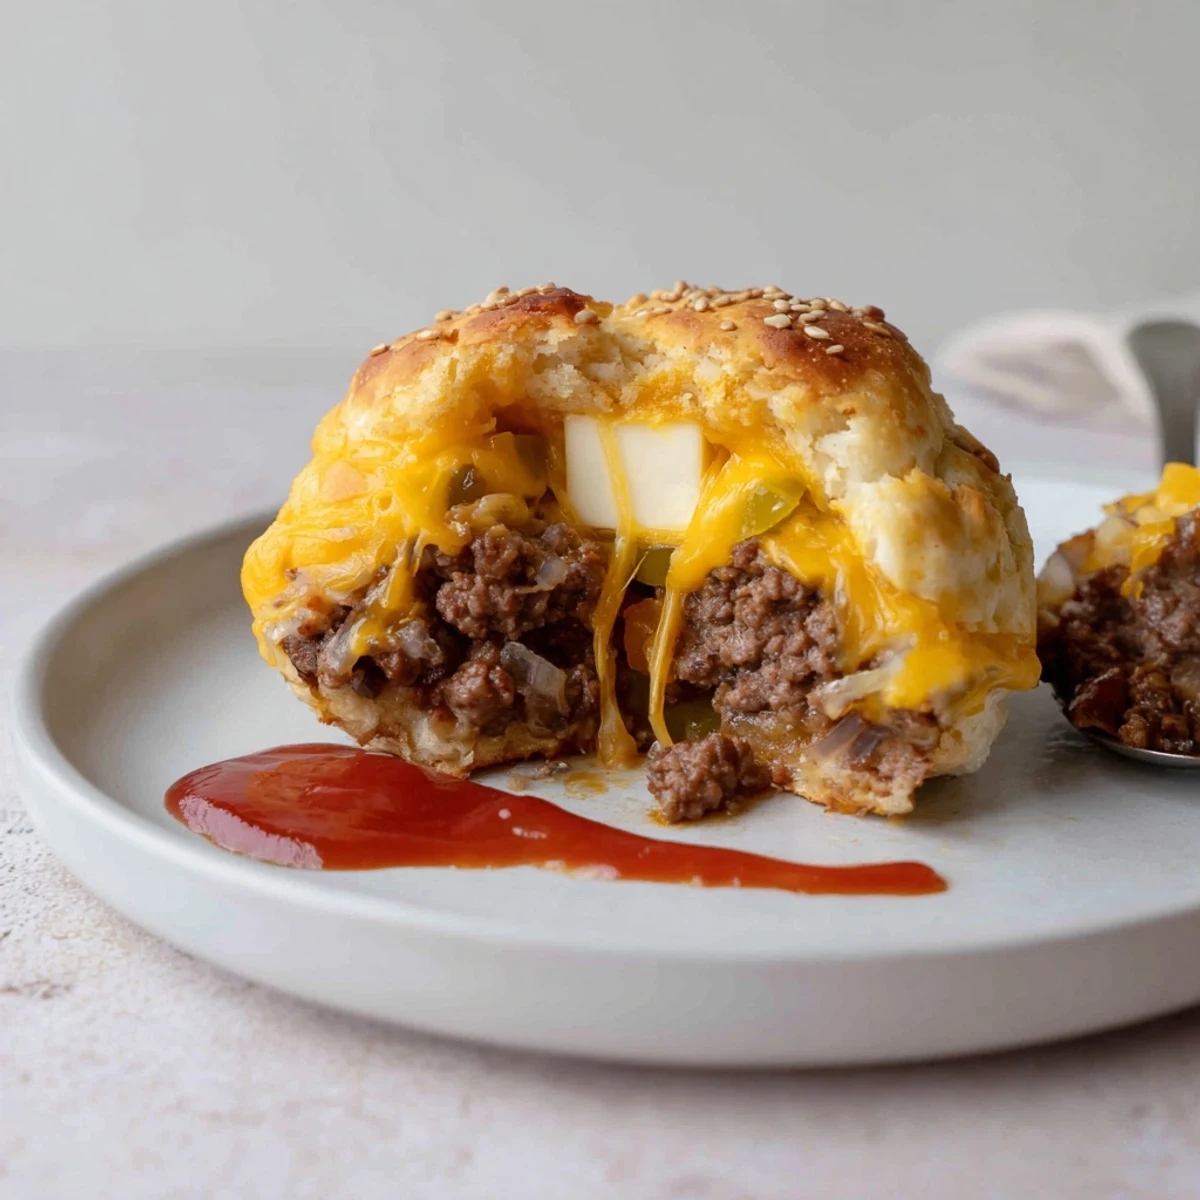
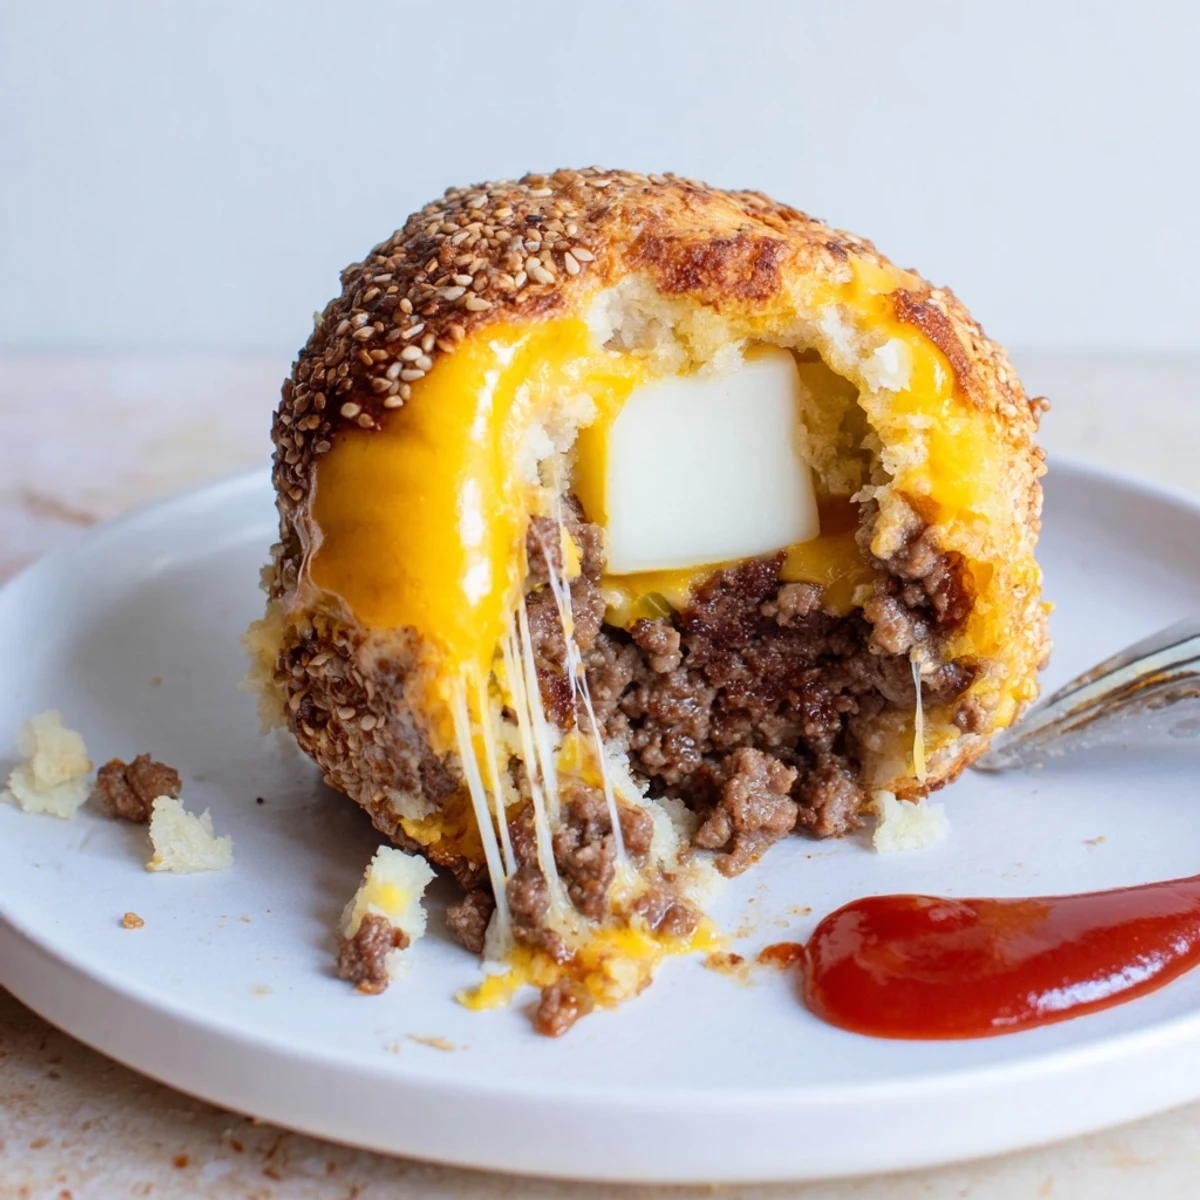
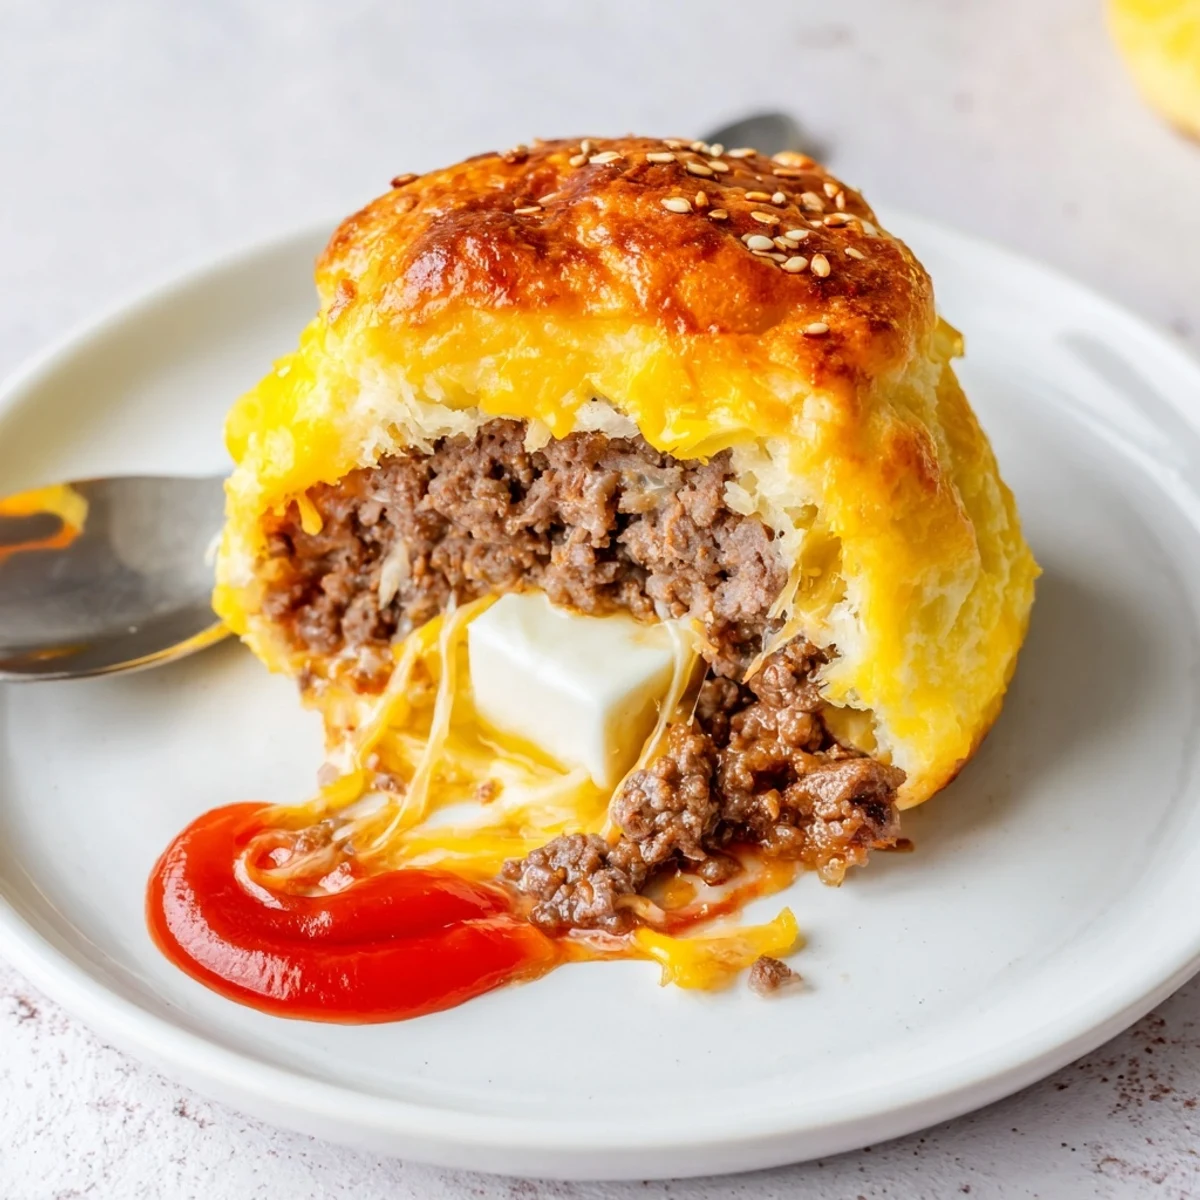
 These cheesy cheeseburger bombs are biscuit-wrapped beef patties filled with shredded cheddar and a mozzarella cube, seasoned with ketchup, mustard and Worcestershire. Sauté the onion, brown the beef, stir in condiments and pickles, then spoon into flattened biscuit rounds. Seal well, brush with egg, sprinkle sesame and bake at 200°C (400°F) for 15–18 minutes until golden. Yields 8 handhelds; about 50 minutes total. Try pepper jack or bacon for variation.
There was a night when hunger and impatience collided, and the idea of these Cheesy Cheeseburger Bombs was born out of pure necessity and a little bit of chaos. The sizzle from the skillet and the scent of sautéed onion turned my kitchen into a magnet for curious noses. As I wrapped each beefy filling in its golden biscuit shell, neighbors dropped by, drawn by the aroma sneaking through the hallway. When I pulled the first tray from the oven, I realized I’d stumbled onto something worth sharing—and possibly hoarding.
I made these for a game night once, with friends sprawled around the living room, and they vanished before I could even refill the chip bowl. Someone managed to steal two bombs before anyone noticed, and it turned into a running joke that the cheeseburger ‘explosion’ wasn’t just in the oven. There’s just something mischievous about watching cheese ooze out as you break one open. It was the sort of recipe that made everyone linger long after the last crumb disappeared.
Ingredients
- Ground beef: Using 80 percent lean means juicy, flavorful filling, but drain well to avoid soggy dough.
- Shredded cheddar cheese: Sharp cheddar melts best and packs every bite with classic tang.
- Mozzarella cheese cubes: These hidden pillows melt into gooey surprises—try to keep them in the center for maximum cheese pull.
- Onion: Dice small for even cooking and sweeter flavor that blends into the beef.
- Pickle: Chop finely if you’re using it—just enough for tang without overpowering the rest.
- Refrigerated biscuit dough: Store-bought saves time, and keeping it chilled makes sealing the bombs easier.
- Ketchup and mustard: The burger classics, stirred right into the filling for that unmistakable cheeseburger taste.
- Worcestershire sauce: Don’t skip this—one tablespoon brings a whole layer of savory depth.
- Garlic powder, salt, black pepper: Simple seasonings that make the beef taste anything but basic.
- Egg, beaten: An easy egg wash guarantees shiny, appetizing tops.
- Sesame seeds: They toast up beautifully and give a real burger-bun look.
Instructions
- Get the oven ready:
- Heat your oven to 200°C (400°F) and prep a baking sheet with parchment so nothing sticks.
- Sauté the onion and brown the beef:
- Cook the onion in a skillet until it smells sweet, then add beef, garlic powder, salt, and pepper, stirring until everything's browned—drain off the fat for crispier bottoms later.
- Create the flavor bomb filling:
- Add ketchup, mustard, Worcestershire, and those sneaky pickles; mix it up and let it cool so it doesn’t melt the dough.
- Shape and fill:
- Flatten each biscuit into a disk, spoon on the meat mixture and cheddar, then top with a mozzarella cube—try to keep things tidy but don’t stress if cheese peeks out.
- Seal and arrange:
- Fold dough up over the filling and pinch firmly, setting each bomb seam-side down on your tray.
- Add the finishing touch:
- Brush with egg wash and shower with sesame seeds for that true burger vibe.
- Bake to golden perfection:
- Bake 15–18 minutes; your kitchen will fill with buttery, cheesy aromas—peek for a deep golden color.
- Cool and serve:
- Let them cool a few minutes, or brace yourself for a molten cheese surprise when you bite in.
 Save to Pinterest
 The first time I brought these to a family picnic, my niece insisted on helping and turned half the bombs into lopsided little surprises, but those were the first to vanish. We ended up laughing as we compared which ones were bursting at the seams and which ones stayed neatly wrapped. Even the slightly wonky ones disappeared faster than you’d expect. That day, it felt like everyone was part of the process.
Jazz It Up Your Way
Once, a friend suggested tucking in some chopped bacon, and I’ve never looked back—it’s like a double-cheeseburger in every bite. You can get playful with the cheeses or sneak in jalapeños for those who crave a bit of heat. Sometimes I swap in pepper jack or even gouda for grown-up flavor twists.
Troubleshooting for Busy Nights
If your dough feels sticky, a dusting of flour helps keep things from getting messy. The filling can be made in advance and refrigerated, making assembly a breeze on weeknights. When time’s tight, I’ve stuffed and shaped everything in the morning, then baked them in the evening.
Serving and Saucing Ideas
My favorite way to serve these is straight out of the oven with a trio of sauces—ketchup, spicy mustard, and a garlic aioli. Even cold, they make a shockingly good lunchbox treat or midnight snack. Their portability makes them a hit at potlucks or picnics, and they always get smiles.
- Let them cool just a couple minutes so nobody burns their tongue.
- A sprinkle of extra sesame seeds adds crunch if you’re a texture fan.
- Don’t forget napkins—they can get gloriously gooey.
 Save to Pinterest
 Whether you serve them fresh or sneak one cold from the fridge, these cheeseburger bombs bring big flavor and a bit of fun to any table. Enjoy every cheesy, messy bite—it’s all part of the experience.
Recipe FAQs
- → Can I swap the cheeses?
-
Yes. Cheddar provides sharpness while mozzarella gives a melty center; substitute pepper jack for heat or a mix of provolone and cheddar for a milder, gooey bite.
- → How do I prevent the filling from leaking?
-
Press the biscuit edges firmly and pinch to seal, removing any excess filling at the edge. Chill filled balls briefly before egg wash to help them hold shape during baking.
- → Any tips for a crisp bottom crust?
-
Use a preheated baking sheet or place the sheet on the oven rack while it preheats so the bottoms start browning immediately. Lining with parchment prevents sticking but keeps the base crisp.
- → Can these be made ahead and reheated?
-
Yes. Bake fully, cool, then refrigerate. Reheat on a baking sheet at 180°C (350°F) for 8–10 minutes to refresh the crust and melt the cheese; avoid microwaving to keep texture.
- → Is freezing an option?
-
You can freeze assembled, unbaked bombs on a tray until firm, then transfer to a sealed bag. Bake from frozen, adding a few extra minutes to the baking time and watch for even browning.
- → How can I adapt for gluten-free diets?
-
Use a certified gluten-free biscuit dough or small rounds of gluten-free pizza dough. Check all condiment labels for hidden gluten and adjust baking time as needed for different dough textures.