 Save to Pinterest
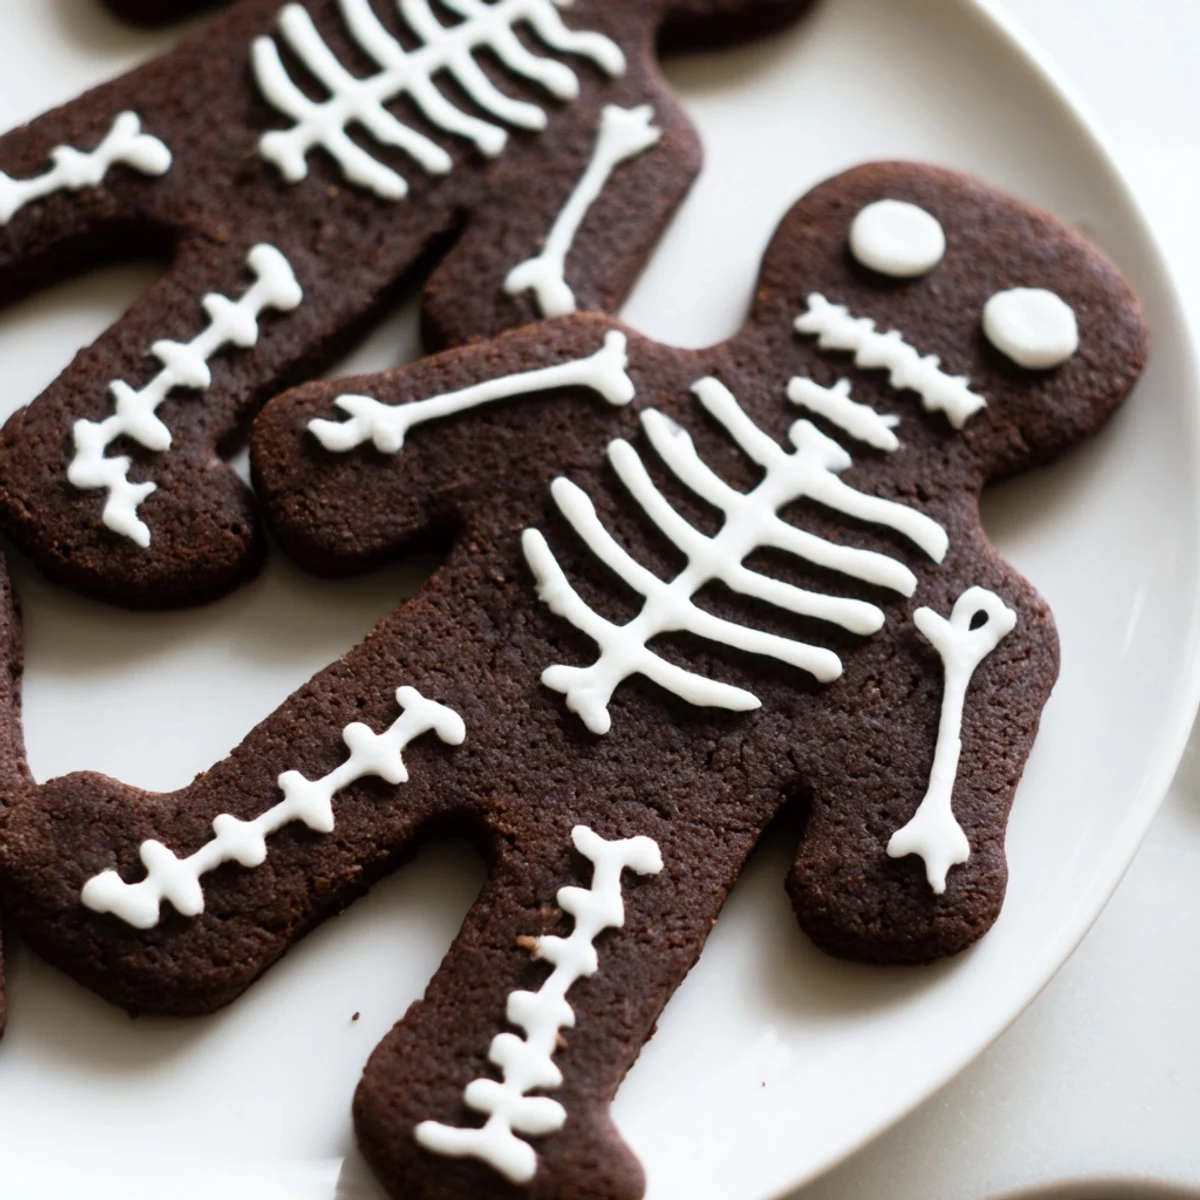
 Create these delightful chocolate cinnamon skeleton cookies with a rich cocoa base and warming spice. The dough requires chilling for easy rolling, then bakes into crisp, dark cookies perfect for Halloween decorating. Royal icing adds the finishing touch with skeleton details. The combination of cocoa and cinnamon creates depth, while the smooth royal icing provides contrast. Make up to two dozen treats that are both visually striking and delicious.
Last October, my kitchen looked like a flour bomb had exploded and I had chocolate smudged on my forehead after attempting these skeleton cookies for the first time. The spicy warmth of cinnamon mixed with rich chocolate created the most incredible aroma that had my roommates wandering in, asking what smelled like autumn in a cookie. I'd originally planned to pipe perfect skeleton bones, but somewhere between the third cookie and my patience running thin, I ended up with what my friend called 'dancing skeleton cookies'—which honestly made them even better.
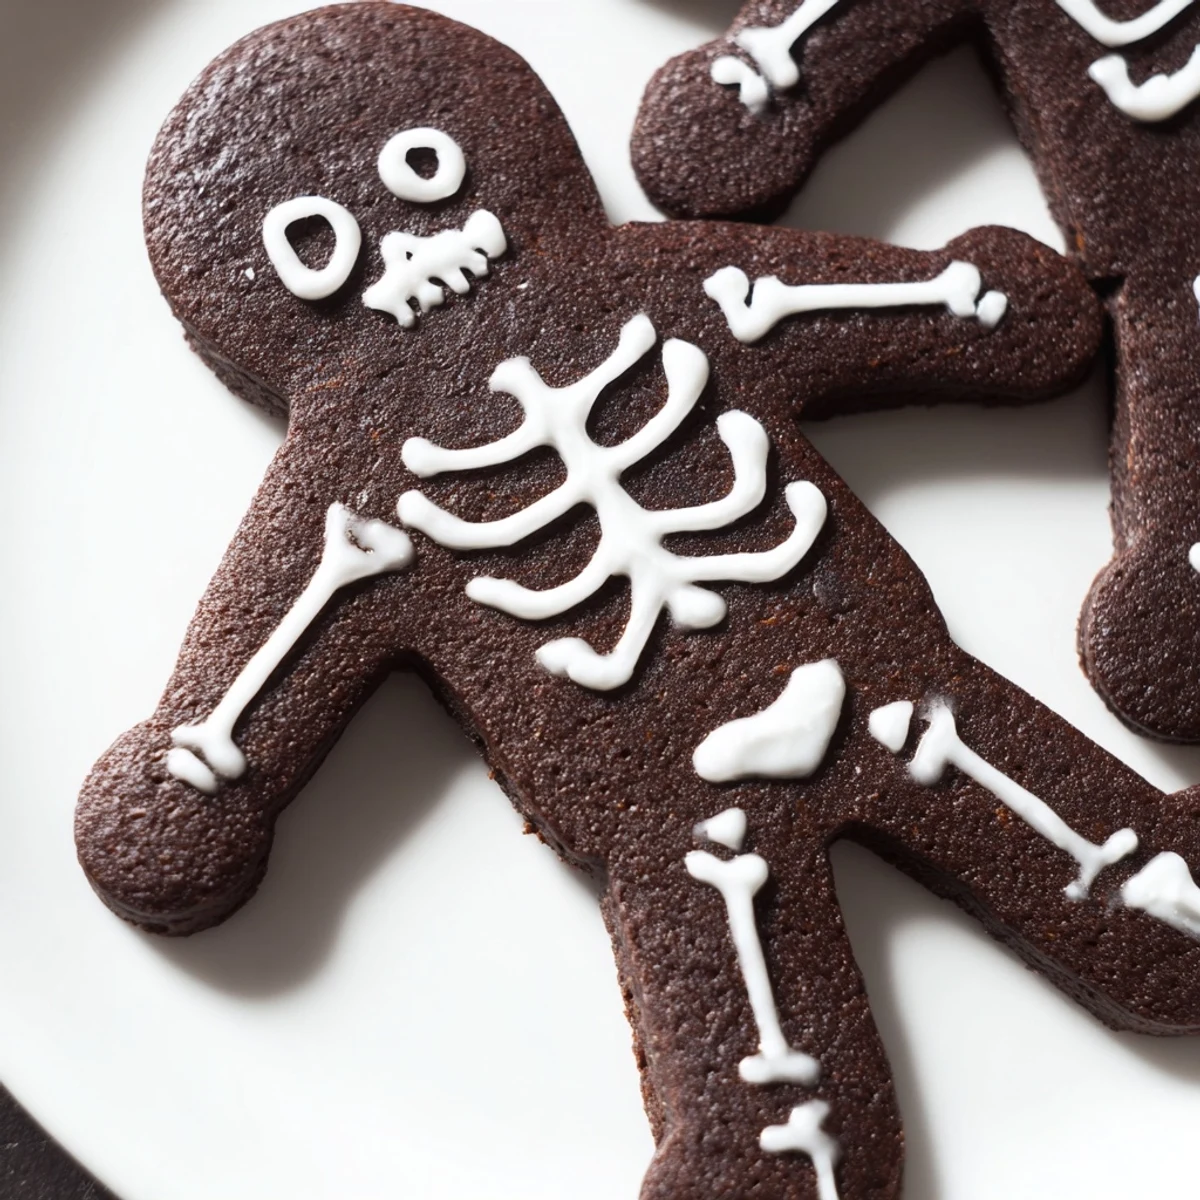
My niece helped me make a batch last year and she insisted every single skeleton needed a name, so we spent the entire Saturday afternoon piping tiny personalities onto gingerbread men turned chocolate skeletons. She decorated one with what looked like a tiny top hat and named him Bartholomew, and I'm pretty sure that's the moment these cookies went from just another Halloween treat to something I now make every single year without fail.
Ingredients
- All-purpose flour: The foundation that holds everything together; measure by weight if you can for consistency
- Unsweetened cocoa powder: Gives that deep chocolate flavor without making them too sweet
- Ground cinnamon: The secret ingredient that makes these taste like coziness itself
- Baking powder: Helps them puff just slightly so theyre not rock hard
- Salt: Essential to balance the sweetness and enhance the chocolate
- Unsalted butter: Room temperature is non-negotiable here; cold butter creates a weird texture
- Granulated sugar: Sweetens and helps create those crispy edges
- Egg: Binds the dough and adds structure
- Vanilla extract: Always use the real stuff, it makes a difference you can actually taste
- Powdered sugar: For the royal icing; sift it first or youll hate your life
- Egg white or meringue powder: Creates that perfect hard-drying icing
- Water: Adjust this until your icing flows like honey
Instructions
- Whisk the dry ingredients:
- Combine flour, cocoa powder, cinnamon, baking powder, and salt in a medium bowl. This step is actually therapeutic, I promise.
- Cream the butter and sugar:
- Beat butter and sugar for about 2 minutes until it looks lighter and fluffy. Don't rush this; its the difference between tough cookies and tender ones.
- Add the egg and vanilla:
- Mix until just combined. If you overmix here, your cookies might spread too much.
- Combine everything:
- Gradually add the dry ingredients to the wet mixture. Stop as soon as a dough forms; if you keep mixing, they'll be tough.
- Chill the dough:
- Divide dough in half, flatten into disks, wrap in plastic, and refrigerate for at least 30 minutes. This is the step I used to skip and then wondered why my cookies turned into blobs.
- Heat the oven:
- Preheat to 350°F and line your baking sheets with parchment paper. I've tried greasing the pans directly; parchment is just better.
- Roll and cut:
- Roll dough to 1/4 inch thickness on a floured surface. Cut out skeleton shapes and transfer to prepared sheets.
- Bake until set:
- Bake for 10-12 minutes until they're set but not overly crisp. They'll firm up as they cool.
- Make the royal icing:
- Beat egg white (or meringue powder) with powdered sugar and water until smooth and pipeable. Test the consistency by drizzling a line; it should smooth back into itself within 10 seconds.
- Decorate your skeletons:
- Transfer icing to a piping bag with a fine tip and let your creativity run wild. Let them dry completely before storing.
 Save to Pinterest
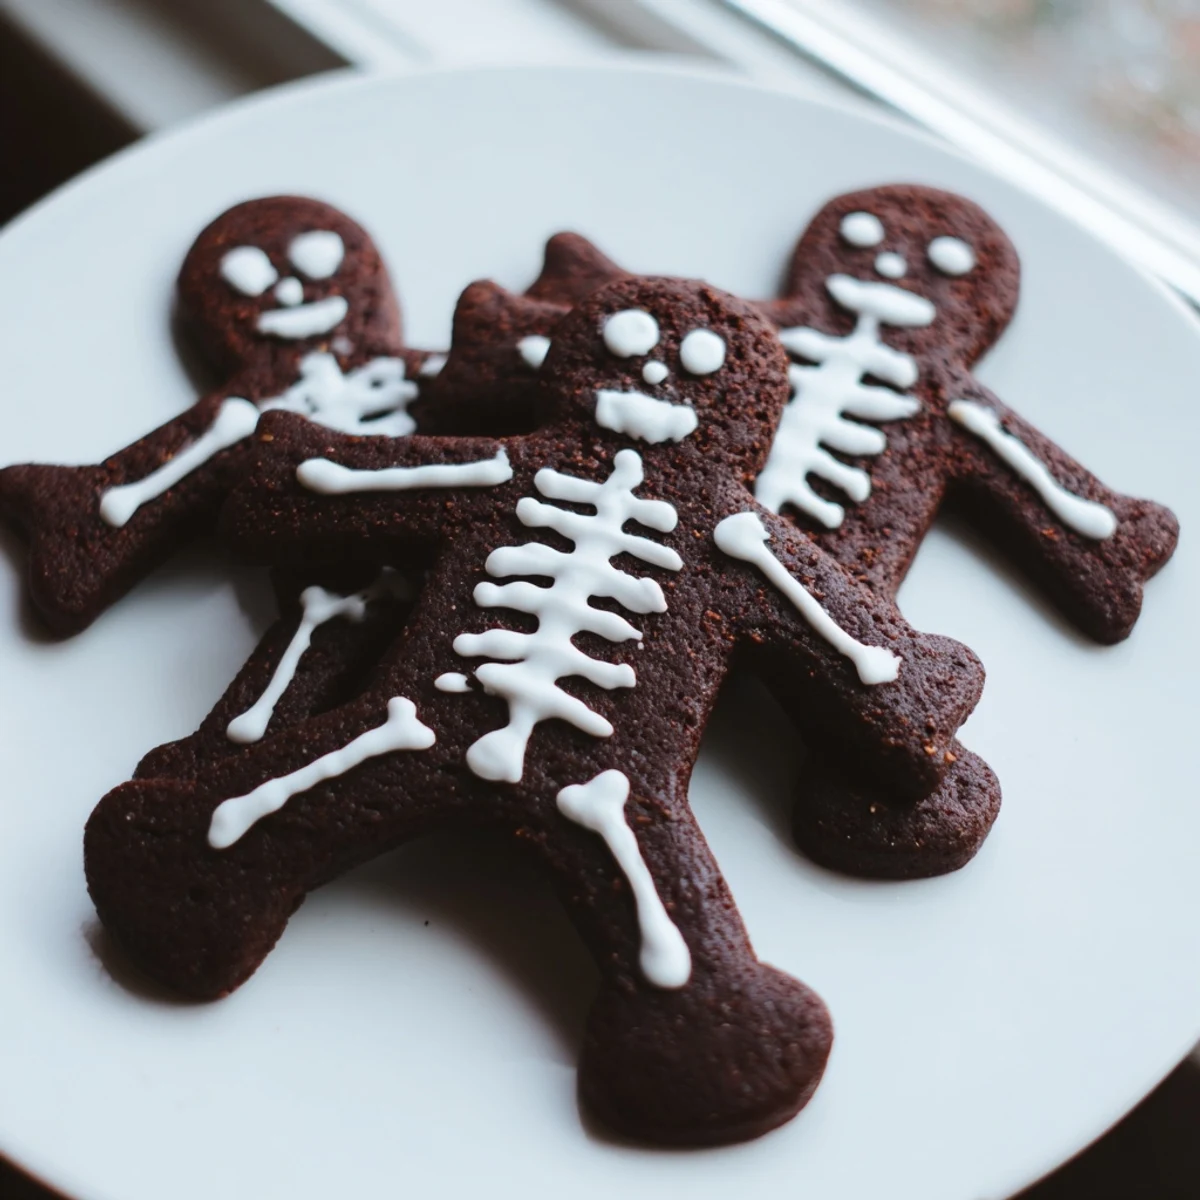
 Last Halloween, I brought these to a party and watched a grown man argue with his friend about whose skeleton cookie had better posture. Theyre the kind of treat that makes people pause, laugh, and then immediately ask for the recipe.
Getting That Perfect Icing Consistency
I've ruined more batches of royal icing than I care to admit by adding too much water at once. Start with less and add drop by drop; you can always add more but you can't take it back. The perfect consistency is thick enough to hold its shape but fluid enough to smooth out when piped.
Making Them Ahead
The dough actually improves after a day or two in the refrigerator; the flavors meld together and the cinnamon becomes more pronounced. I've made dough up to three days ahead and baked fresh cookies the day of an event.
Storing Your Skeleton Army
Once the royal icing is completely dry, layer the cookies between sheets of wax paper in an airtight container. They'll stay fresh for up to a week, though in my house they rarely last longer than two days.
- Make sure the icing is 100 percent dry before stacking or youll have stuck-together skeletons
- Freeze undecorated dough for up to a month; thaw in the fridge before rolling
- If your icing softens after storage, let the cookies sit out for 15 minutes before serving
 Save to Pinterest
 These cookies have become the thing people actually remember about my Halloween parties, and I'm totally okay with that.
Recipe FAQs
- → How long should I chill the dough?
-
Refrigerate the dough for at least 30 minutes before rolling. This step prevents spreading during baking and makes the dough easier to cut into skeleton shapes.
- → Can I make these cookies ahead of time?
-
Yes! Store undecorated cookies in an airtight container for up to a week. Decorate with royal icing shortly before serving for best results.
- → What if I don't have skeleton cookie cutters?
-
Gingerbread man cutters work perfectly well—the shape naturally lends itself to skeleton decoration. You can also freehand cut shapes with a knife.
- → How do I get the right royal icing consistency?
-
Add water gradually, starting with 2 tablespoons. The icing should be smooth and pipeable—not too thick to flow through the tip, but not so thin that it spreads.
- → Can I freeze the dough?
-
Wrap the dough disks tightly in plastic and freeze for up to 3 months. Thaw overnight in the refrigerator before rolling and cutting.
- → Why add cinnamon to chocolate cookies?
-
Cinnamon enhances the chocolate flavor and adds warmth that complements the cocoa. The spice creates depth without overwhelming the chocolate richness.