 Save to Pinterest
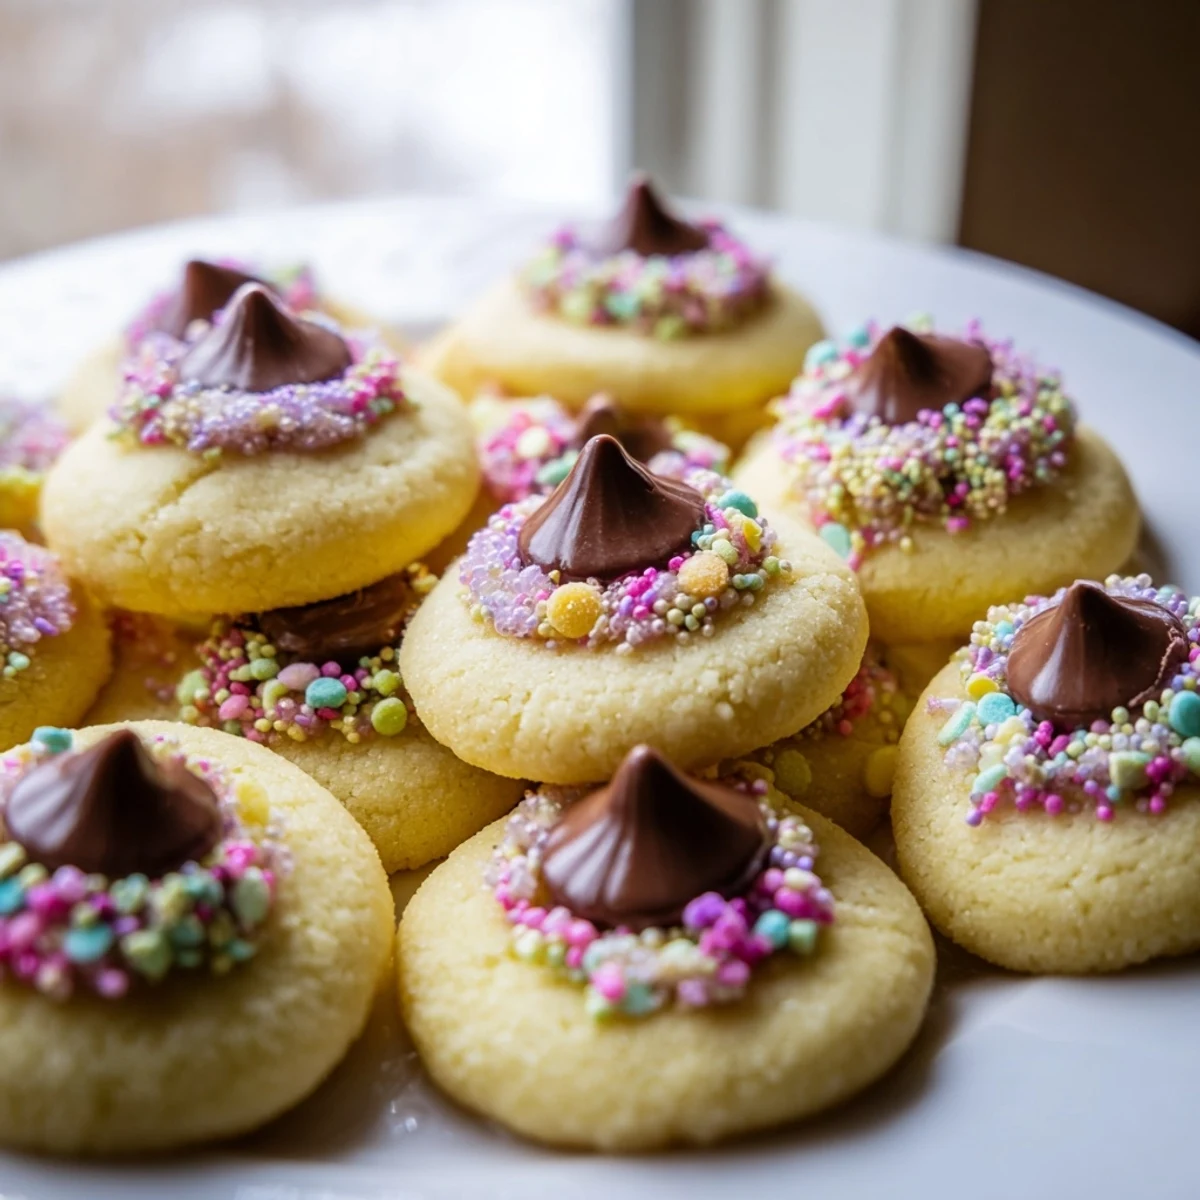
 These soft, melt-in-your-mouth cookies feature a tender buttery base rolled in pastel sprinkles and finished with a chocolate kiss pressed into the center. The dough comes together quickly with creamed butter and sugar, while the 30-minute total time makes them perfect for last-minute holiday baking.
The technique involves baking until edges are set but centers remain soft, then immediately pressing the chocolate into each warm cookie for that signature blossom appearance. Customize with different chocolate flavors or add chopped nuts for extra texture.
Last spring, my niece begged me to make something special for her school's Easter party, and these blossom cookies were born from that urgent need for something festive yet simple enough for a kitchen full of excited children.
When I pulled that first tray from the oven, the whole house filled with buttery vanilla scent, and I knew we had created something magical before even taking the first bite.
Ingredients
- Unsalted butter: Room temperature butter creates that perfect tender crumb—straight from the fridge will give you tough cookies
- Granulated sugar: Cream this thoroughly with the butter until it looks pale and fluffy, at least 3 full minutes
- Large egg: Use room temperature eggs for better emulsification with the butter
- Pure vanilla extract: Dont skimp here—good vanilla makes all the difference in simple butter cookies
- All-purpose flour: Spoon and level your flour rather than scooping directly to avoid packing it down
- Salt: Even a small amount enhances all the other flavors without making them taste salty
- Baking powder: This gives just enough lift for soft, pillowy centers
- Chocolate blossom kisses: Work quickly when pressing these in—they need the residual heat to adhere properly
- Pastel sprinkles or colored sanding sugar: Roll the dough balls gently so the sprinkles stick without flattening them
Instructions
- Get your oven ready:
- Preheat to 350°F and line those baking sheets with parchment paper now, so youre not scrambling later
- Cream the butter and sugar:
- Beat them together until the mixture looks pale and fluffy, about 3 minutes—you want to incorporate lots of air here
- Add the egg and vanilla:
- Mix until everything is completely combined and the mixture looks glossy and smooth
- Whisk your dry ingredients:
- Combine flour, salt, and baking powder in a separate bowl so they distribute evenly
- Bring it all together:
- Gradually mix in the dry ingredients just until you no longer see streaks of flour—overmixing makes tough cookies
- Shape and decorate:
- Roll dough into tablespoon sized balls, then roll each one in sprinkles or colored sugar for that festive spring look
- Arrange for baking:
- Place the balls 2 inches apart on your prepared sheets, giving them room to spread
- Bake until set:
- 8 to 10 minutes is perfect—edges should be firm but centers still look slightly soft
- Add the chocolate:
- Immediately press a chocolate kiss into the center of each hot cookie, using gentle pressure
- Cool completely:
- Let them rest on the tray for 5 minutes so the chocolate sets, then move to a wire rack
 Save to Pinterest
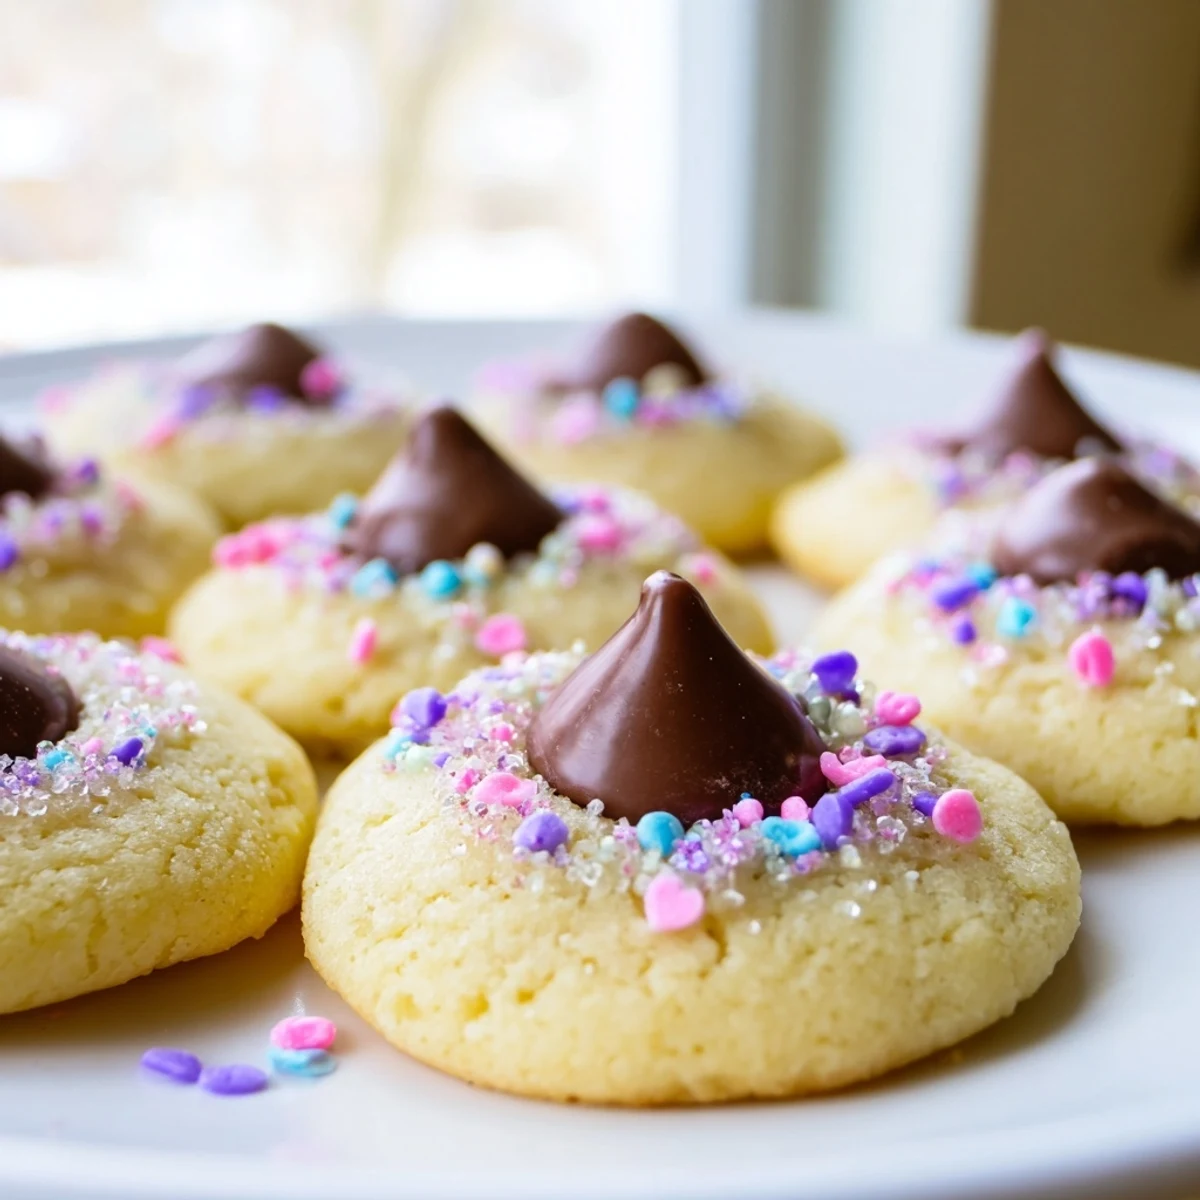
 My niece still talks about how she got to press the chocolate into the warm cookies, her small hands carefully placing each kiss like she was putting the final touch on a masterpiece.
Making These Your Own
White chocolate kisses work beautifully for a different look, and I once used almond extract instead of vanilla for an adults only version that disappeared first at the party.
Storage Secrets
These actually taste better on day two when the flavors have had time to meld, so I often make them the night before an event.
Baking Success Tips
Room temperature ingredients are non-negotiable here—cold butter and eggs will give you completely different results.
- Rotate your baking sheets halfway through for even browning
- If dough becomes too soft to handle, chill it for 15 minutes
- Have those chocolate kisses unwrapped before you start baking
 Save to Pinterest
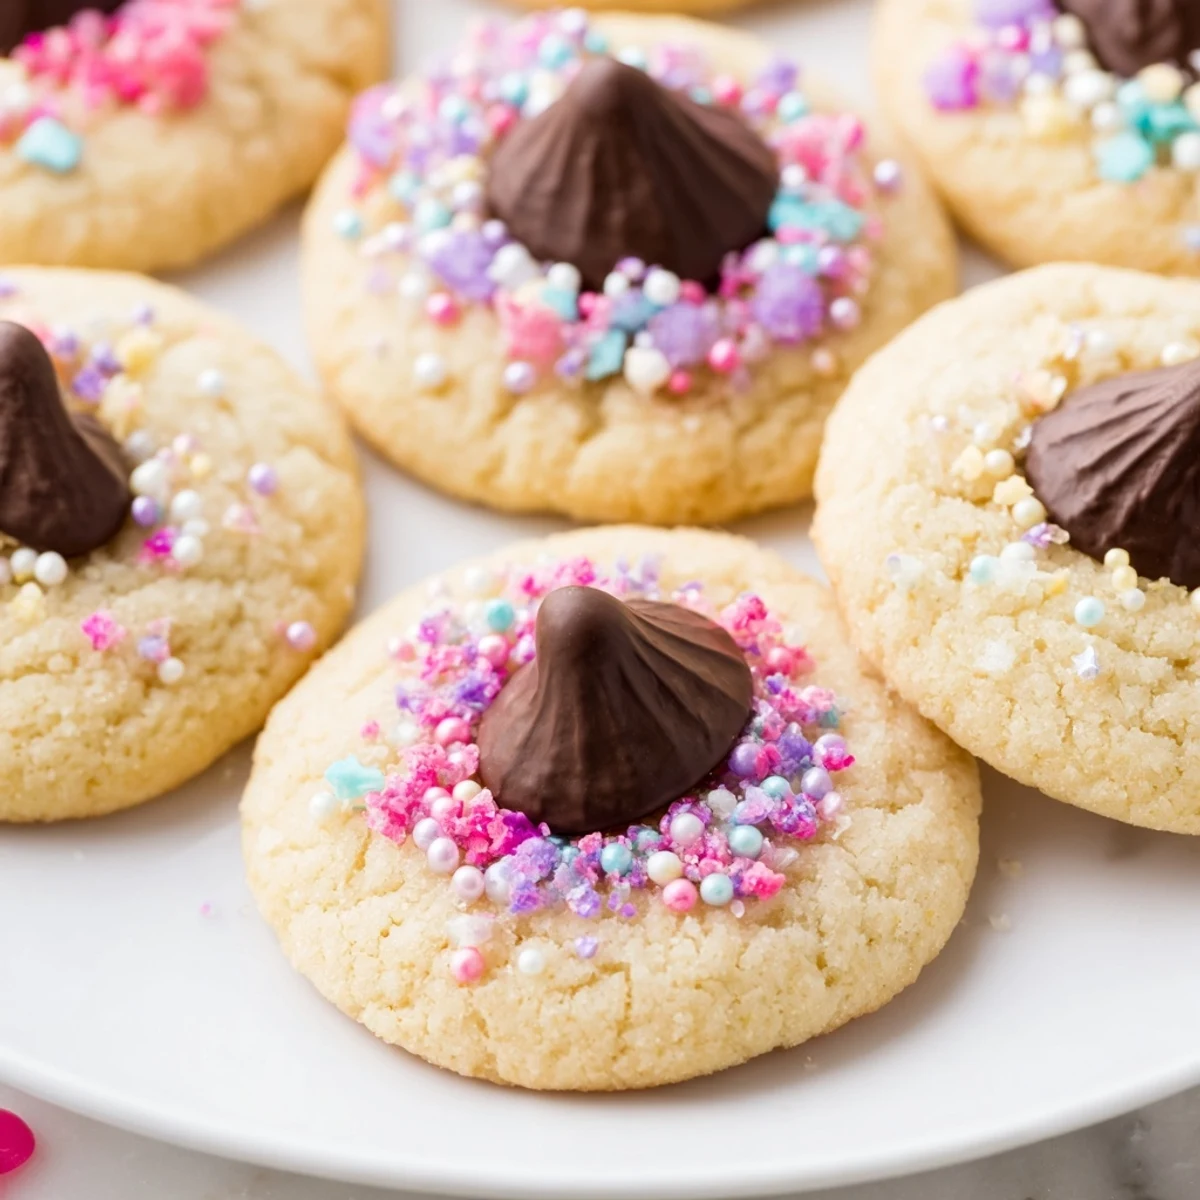
 Theres something so joyful about a platter of these colorful cookies, like little edible flowers that make everyone smile before they even take a bite.
Recipe FAQs
- → Can I make the dough ahead of time?
-
Yes, the dough can be prepared and refrigerated for up to 2 days before baking. Let it soften slightly at room temperature for 10-15 minutes before scooping and rolling in sprinkles.
- → What if I don't have pastel sprinkles?
-
Colored sanding sugar, nonpareils, or even finely chopped nuts work well as coatings. The chocolate kisses provide plenty of color on their own if you prefer to skip the decorative rolling step.
- → Why press the chocolate in after baking?
-
Adding chocolate kisses while the cookies are still warm ensures they adhere properly without melting completely. If added before baking, the chocolate will lose its shape and become too soft.
- → Can I freeze these cookies?
-
Baked cookies freeze well for up to 3 months in an airtight container. Thaw at room temperature. You can also freeze shaped dough balls on a baking sheet, then transfer to a freezer bag to bake fresh later.
- → What other chocolate varieties work well?
-
White chocolate kisses, caramel-filled chocolates, dark chocolate kisses, or even peanut butter cups create delicious variations. Just ensure whatever you use is similar in size to standard chocolate kisses.