 Save to Pinterest
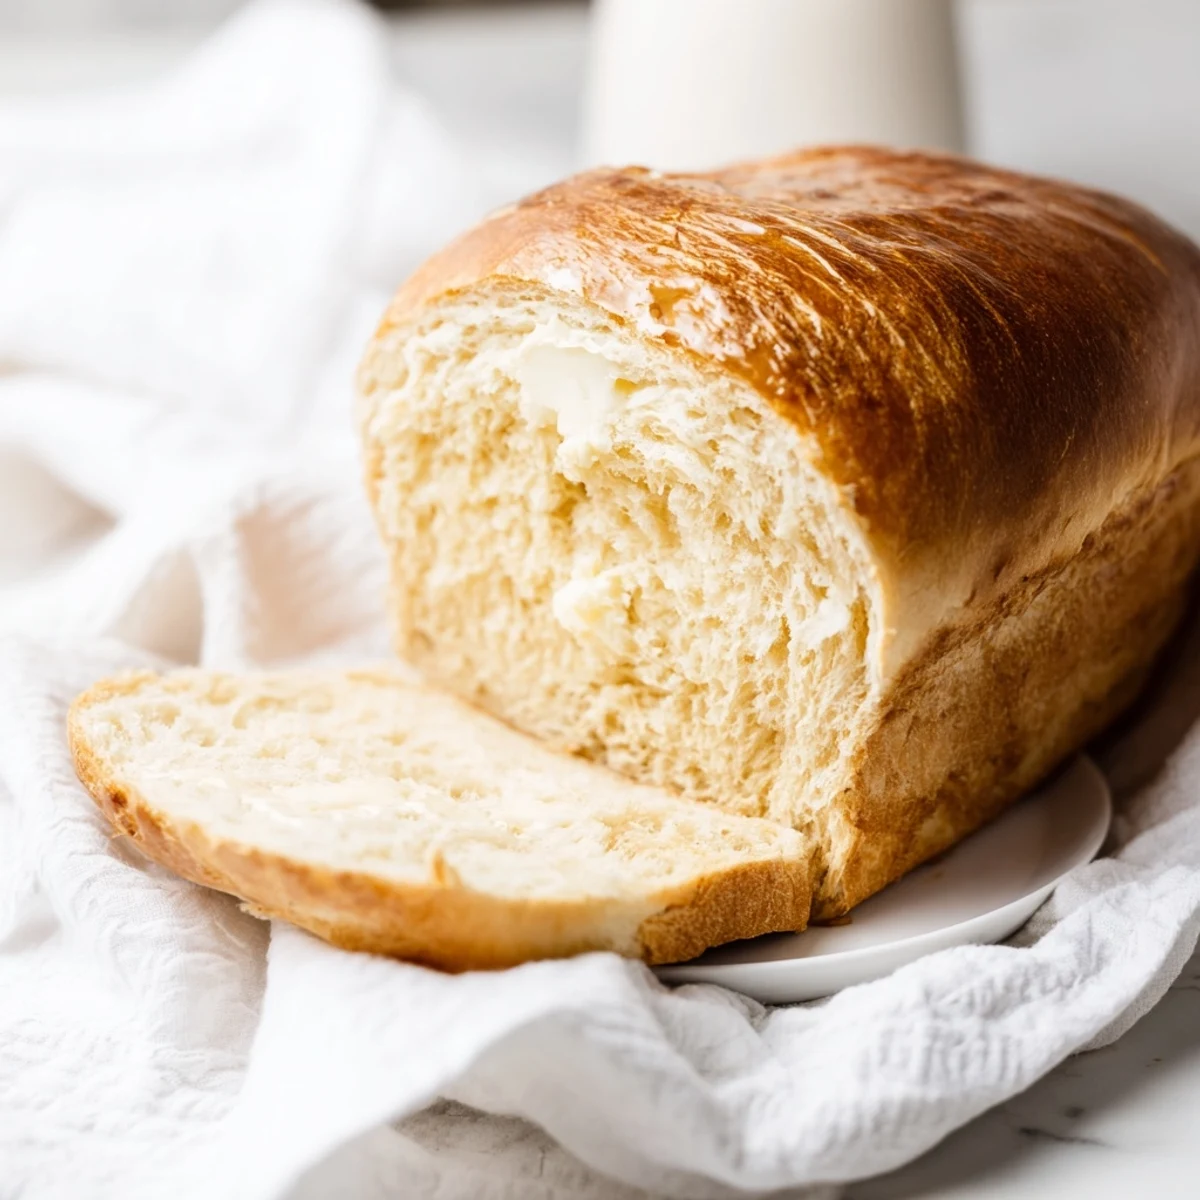
 Create two beautiful golden loaves of tender white bread with this time-honored method. The dough develops a soft, pillowy texture through proper kneading and two rise periods, while a touch of sugar adds gentle sweetness.
The entire process rewards patience—expect about 2.5 hours from mixing to slicing, though hands-on time is minimal. Brushing the baked loaves with butter creates an irresistibly soft crust.
This versatile bread shines in sandwiches, makes exceptional French toast, and pairs wonderfully with homemade jam or honey.
The smell of yeast blooming in warm water still takes me back to my grandmother's kitchen on Sunday mornings. I remember standing on a step stool, watching her dissolve sugar with that practiced swirl of her wrist, the way the mixture turned cloudy and sweet before she even added the flour. This bread recipe captures that same magic—simple ingredients transforming into something extraordinary.
I made these loaves during a snowstorm last winter when the grocery shelves were empty and my kitchen felt like the coziest place on earth. My roommate and I sliced the first loaf while it was still too hot to handle, burning our fingers just enough to make the first taste feel like a tiny adventure we shared together.
Ingredients
- 2 cups warm water: The temperature matters more than you think—too hot and youll kill the yeast, too cool and it wont wake up properly
- 2/3 cup granulated sugar: This feeds the yeast and adds just enough sweetness to make the bread taste homemade rather than store-bought
- 1 1/2 tablespoons active dry yeast: Active dry yeast gives you that classic bread rise and slightly yeasty flavor we all love
- 1 1/2 teaspoons salt: Dont skip this—salt is what balances the sweetness and keeps the bread from tasting flat
- 1/4 cup vegetable oil: Keeps the crumb tender and the bread fresh longer than butter alone would
- 5 1/2 to 6 cups all-purpose flour: Start with less and add more until the dough feels right—humidity affects how much flour youll actually need
- 1 tablespoon melted butter for brushing: This optional step creates that bakery-soft crust that makes people think youre a bread wizard
Instructions
- Wake up the yeast:
- Dissolve the sugar in warm water, sprinkle the yeast on top, and walk away for 5 to 10 minutes until you see a foamy layer forming—this is how you know your yeast is alive and ready to work
- Build the dough:
- Stir in the salt and oil, then gradually add flour one cup at a time, mixing until the dough pulls away from the sides of the bowl and feels soft but not sticky to the touch
- Knead until smooth:
- Turn the dough onto a lightly floured surface and knead for 6 to 8 minutes, using the heel of your hand to push the dough away from you, folding it back over itself until it springs back when you poke it
- First rise:
- Place the dough in a greased bowl, cover it with a warm towel, and let it rise in a draft-free spot until it doubles in size—about an hour if your kitchen is warm
- Shape the loaves:
- Punch down the dough gently, divide it in half, and shape each piece into a loaf by tucking the edges underneath before placing them in greased 9x5-inch loaf pans
- Second rise:
- Cover the pans and let the dough rise again until it creeps about an inch above the rim—this usually takes 30 to 45 minutes but patience pays off here
- Bake to golden:
- Preheat your oven to 350°F and bake for 25 to 30 minutes until the tops are golden brown and the loaves sound hollow when you tap them—this hollow sound is your bread telling you its done
- Finish with butter:
- Brush the hot loaves with melted butter immediately after baking for a softer crust, then remove them from the pans to cool on a wire rack before slicing
 Save to Pinterest
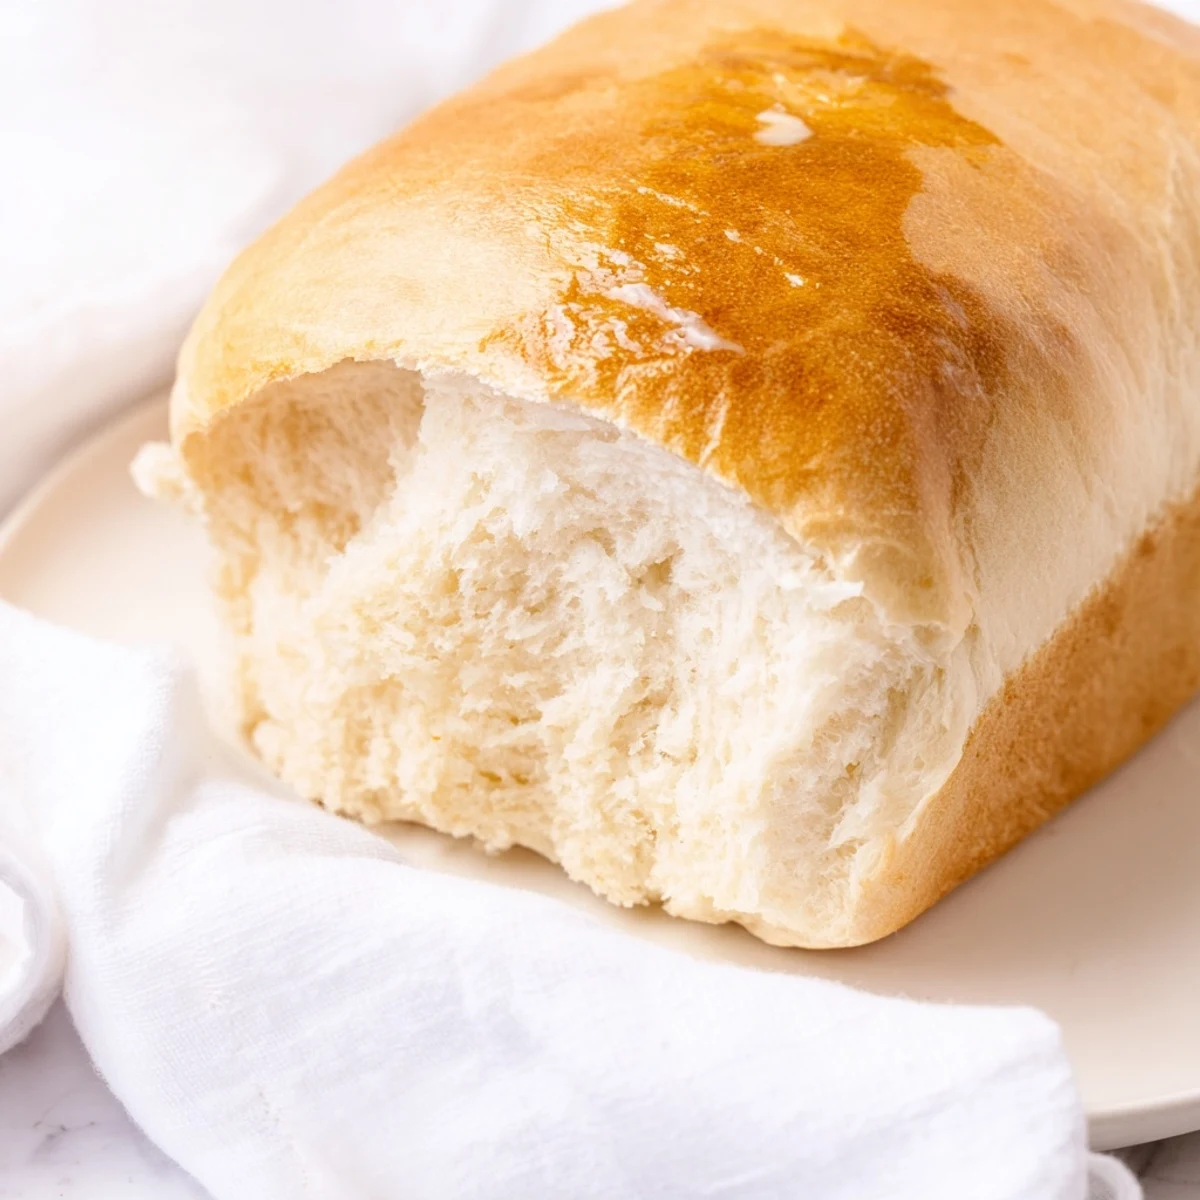
 This bread became my go-to housewarming gift after I brought a loaf to a new neighbor and she texted me two days later asking for the recipe. Now whenever I smell it baking, I think of all the kitchens its ended up in and all the buttered slices eaten over kitchen counters at midnight.
Making It Your Own
Replace half the water with warm milk for a richer, slightly sweeter bread that toasts beautifully. You can also add a tablespoon of honey with the sugar for subtle floral notes that really shine when the bread is toasted.
Storage Secrets
Once the bread is completely cool, store it in an airtight bag or wrap it tightly in plastic—this keeps it soft for up to four days on the counter. For longer storage, slice the whole loaf first, then freeze the slices in a freezer bag so you can grab just what you need and toast it straight from frozen.
Ways To Use Leftover Bread
This recipe makes two loaves, and if you somehow dont eat them both within a few days, stale bread is actually a gift in disguise. Day-old slices transform into exceptional French toast or bread pudding, and slightly dried pieces make the best croutons youve ever had.
- Cube leftover bread and toast it with olive oil and garlic for croutons that elevate any salad
- Whisk up custard for French toast—this bread soaks it up like a dream without falling apart
- Tear stale pieces into a baking dish, cover with a mixture of eggs, milk, cinnamon, and vanilla for the easiest bread pudding
 Save to Pinterest
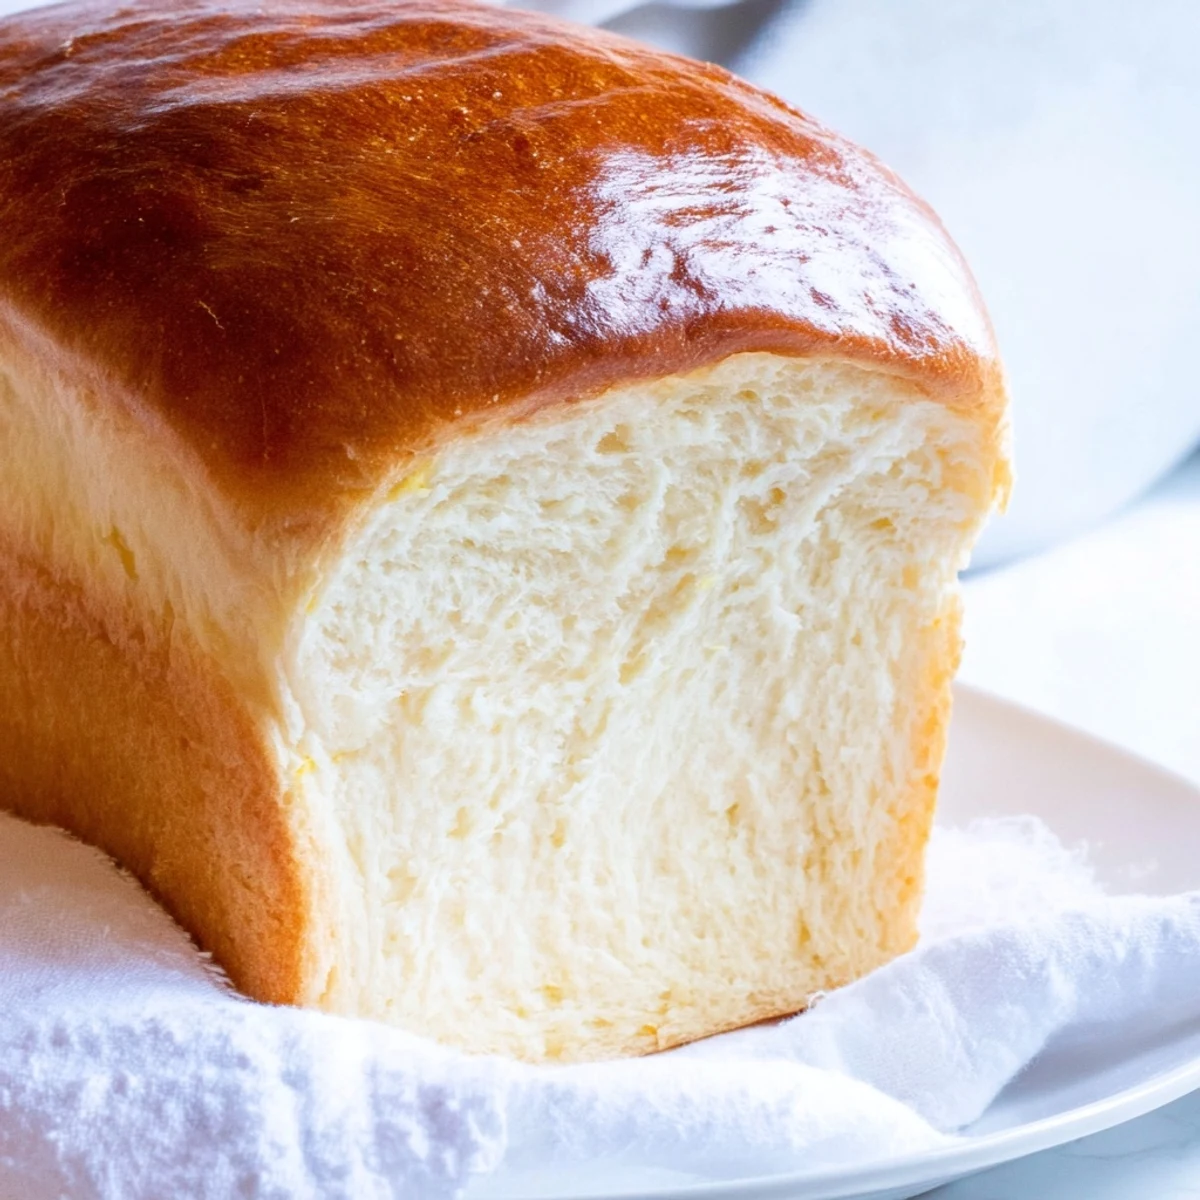
 Theres nothing quite like the first warm slice, slathered in butter that melts into every crater and crevice. I hope this recipe finds its way into your regular rotation and becomes the bread you reach for when you want to make your house feel like home.
Recipe FAQs
- → Why is my bread too dense?
-
Dense bread usually results from under-kneading or insufficient rising time. Knead for at least 6–8 minutes to develop gluten, and ensure the dough doubles in size during both rise periods.
- → Can I make this with whole wheat flour?
-
Yes, substitute up to half the all-purpose flour with whole wheat. Keep in mind whole wheat absorbs more liquid, so you may need slightly less flour or more water.
- → How do I know when the bread is done?
-
The loaves should be golden brown on top. Tap the bottom—if it sounds hollow, it's finished. An instant thermometer inserted into the center should read 190–200°F.
- → Why didn't my yeast foam?
-
Water temperature is critical—too hot kills yeast, too cold won't activate it. Aim for 110°F. Also check that your yeast is fresh and not expired.
- → Can I freeze the dough?
-
Yes, after the first rise, punch down the dough, wrap tightly in plastic, and freeze for up to 3 weeks. Thaw overnight in the refrigerator, then shape and let rise before baking.
- → How should I store the baked loaves?
-
Keep completely cooled bread in an airtight bag at room temperature for 3–4 days. For longer storage, slice and freeze in freezer bags—individual slices thaw quickly at room temperature.