 Save to Pinterest
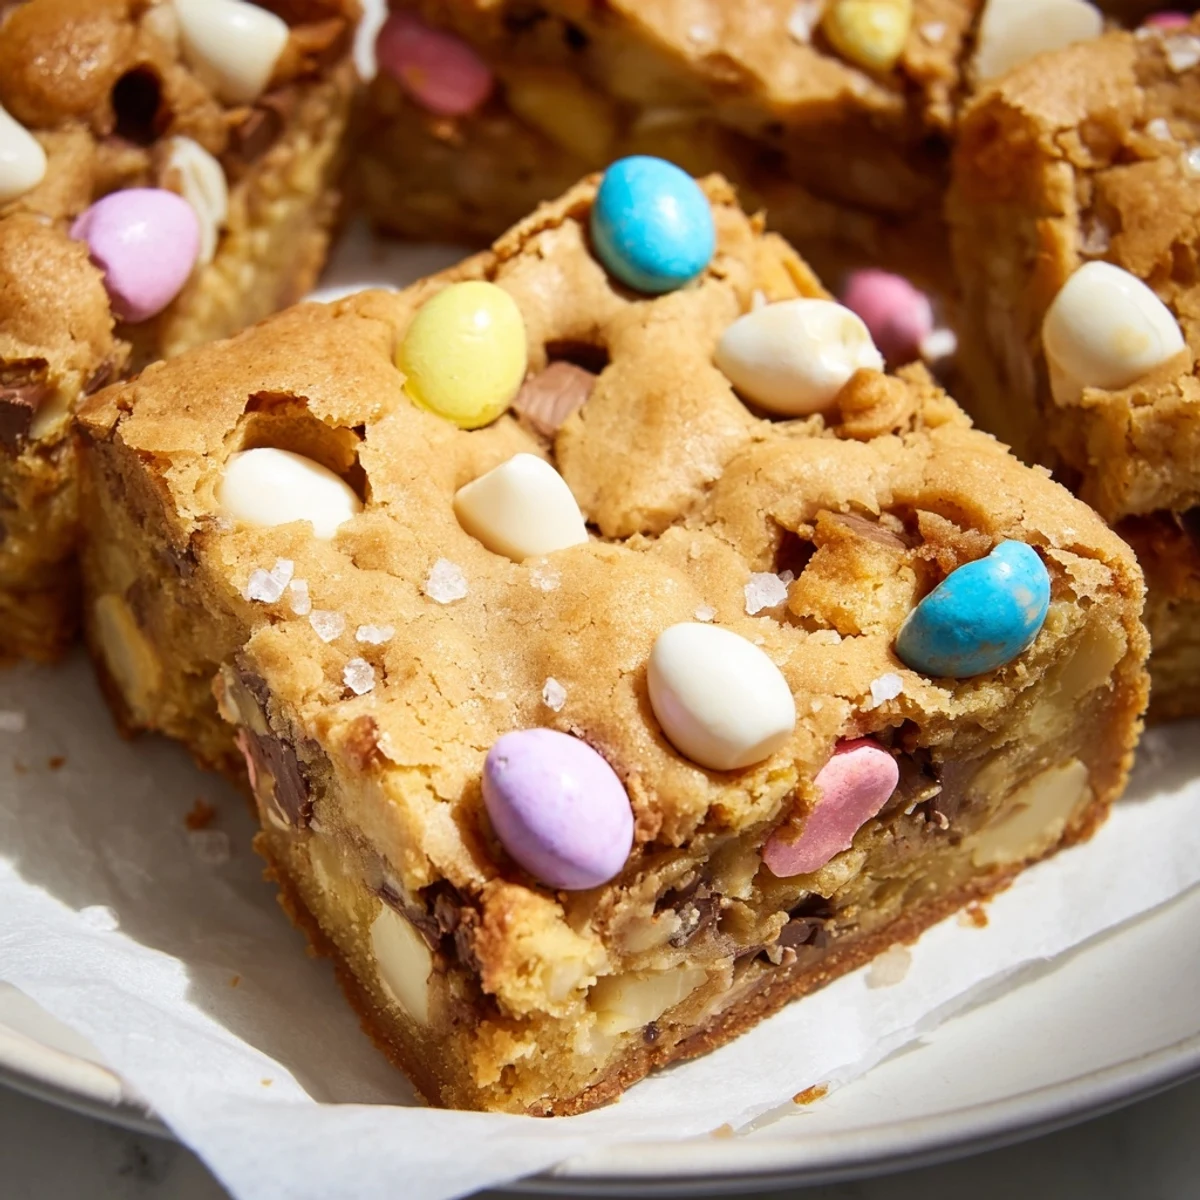
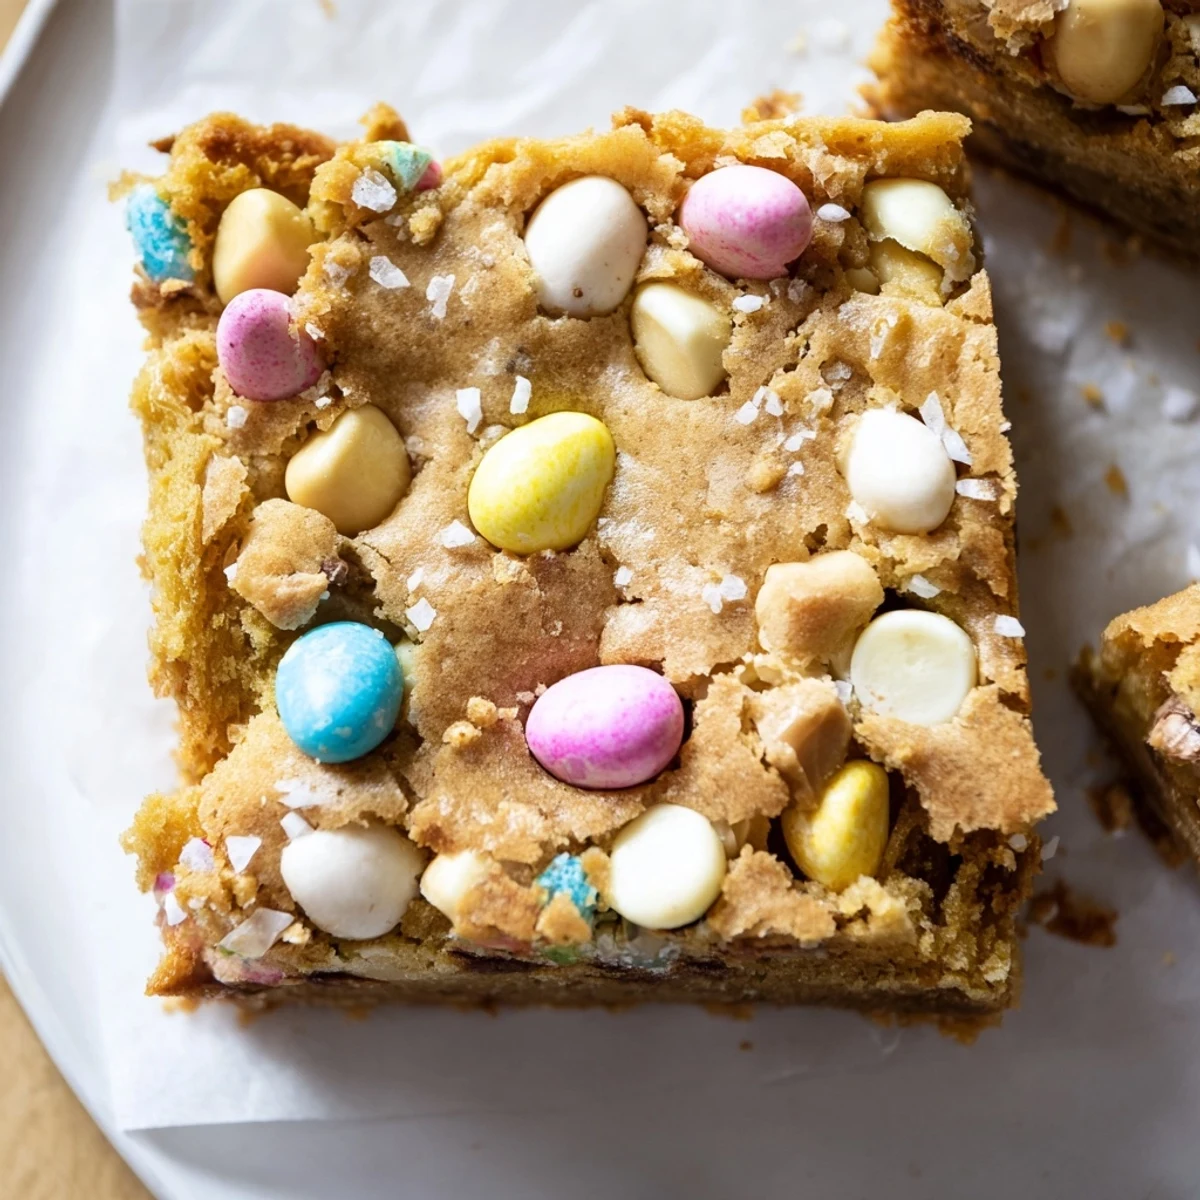
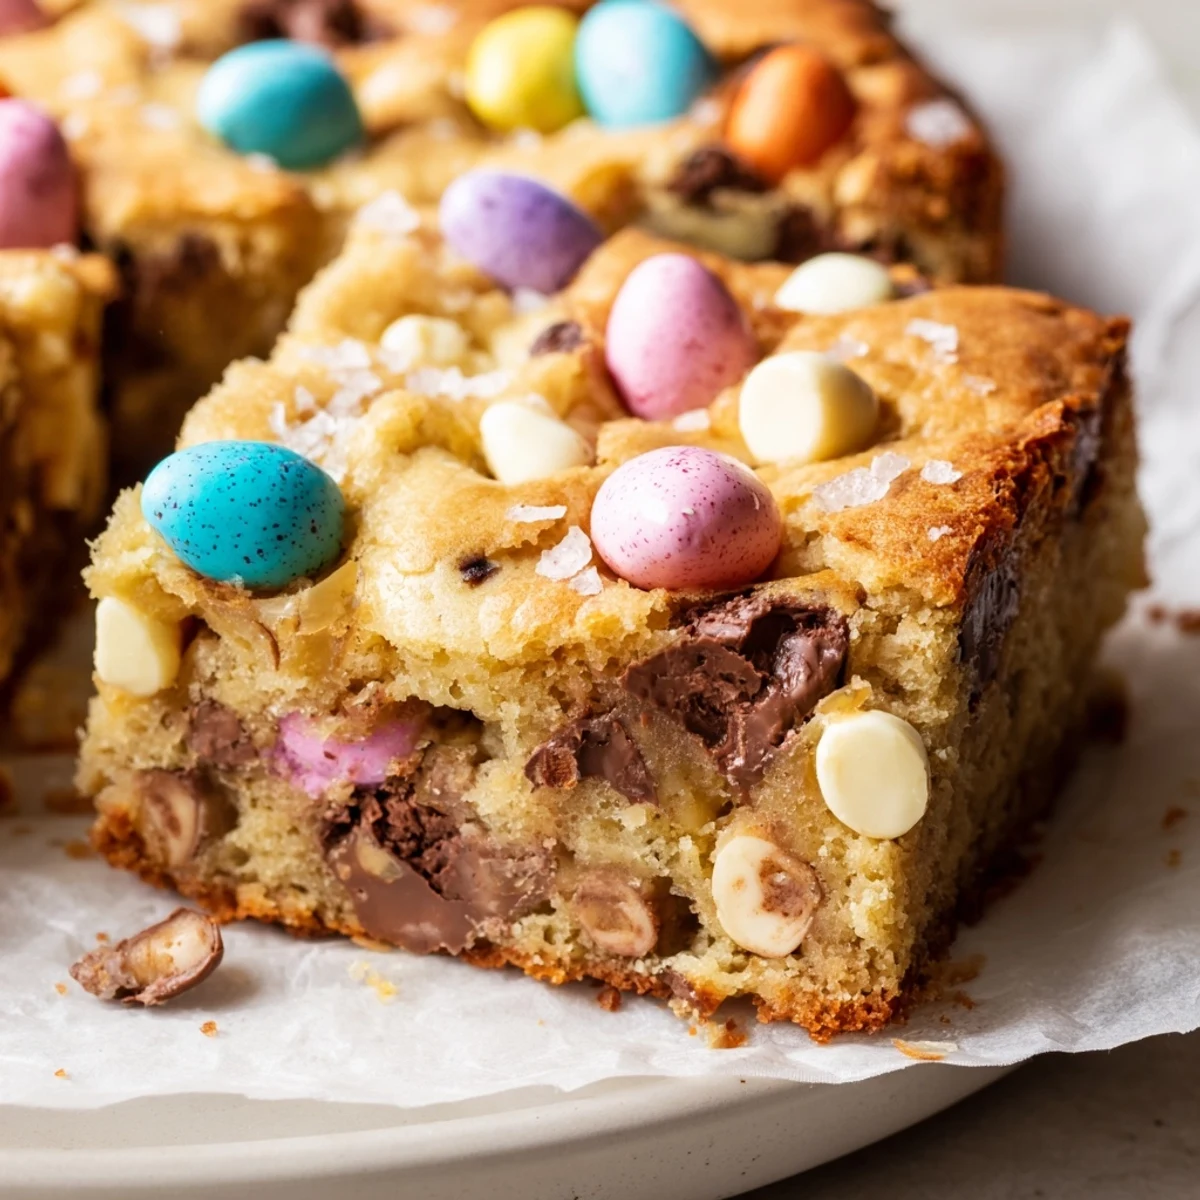
 These buttery blondies feature a tender, gooey interior studded with white and milk chocolate chips. The crowning glory is a generous topping of crisp, colorful Cadbury Mini Eggs that add satisfying crunch and festive spring charm. Ready in just 40 minutes with only 15 minutes of prep.
The first time I made these, my kitchen smelled like butter and sugar, and I couldn't stop sneaking chopped Mini Eggs while the blondies baked. My roommate walked in, caught me red-handed with chocolate on my chin, and immediately grabbed a fork to wait by the oven. Now they're the only thing my friends request for spring gatherings, and I've learned to make double batches.
Last Easter, I brought these to a potluck and watched my friend's six-year-old's eyes light up when she spotted the colorful eggs on top. She carefully ate around the edges first, saving every single candy-coated piece for last like it was a treasure hunt. Her mom later texted me for the recipe, saying it was the first time her daughter had voluntarily eaten anything with white chocolate in it.
Ingredients
- All-purpose flour: The foundation that gives these blondies their structure and tender crumb
- Baking powder: Just enough lift to keep them from being too dense
- Salt: Essential for balancing all that sweetness and making the chocolate flavors pop
- Unsalted butter: Melted and cooled creates that irresistibly gooey texture we're chasing
- Light brown sugar: The secret ingredient that gives blondies their deep, caramel-like flavor
- Large egg: Binds everything together while adding richness
- Pure vanilla extract: Don't skip this—it rounds out all the chocolate flavors beautifully
- White chocolate chips: Creamy and sweet, they melt into pockets of pure bliss
- Milk chocolate chips: Optional but adds a classic chocolate note that everyone recognizes
- Cadbury Mini Eggs: The star of the show—chop most for inside, keep some whole for that festive topping
Instructions
- Get your oven ready:
- Preheat to 350°F and line an 8x8-inch pan with parchment paper, letting the edges hang over like little handles for easy lifting later.
- Whisk the dry team:
- In a bowl, combine flour, baking powder, and salt until everything's evenly distributed.
- Mix the butter and sugar:
- Whisk melted butter and brown sugar until smooth—it'll look like glossy caramel.
- Add the egg and vanilla:
- Beat until fully incorporated, and watch the mixture turn silky and thick.
- Bring it all together:
- Gently fold dry ingredients into the wet mixture with a spatula until just combined—overmixing makes tough blondies.
- Fold in the chocolate:
- Add white chocolate chips, milk chocolate chips, and chopped Mini Eggs, folding until they're evenly distributed throughout the batter.
- Spread and top:
- Spread batter evenly into your prepared pan, then press those reserved whole Mini Eggs into the top like you're planting little chocolate gardens.
- Bake to perfection:
- Bake 22 to 25 minutes until golden and a toothpick comes out with moist crumbs—underbaking slightly keeps them wonderfully gooey.
- The hardest part:
- Let them cool completely in the pan before lifting out and cutting into 12 squares.
 Save to Pinterest
 These became my go-to office birthday treat after my coworker admitted she'd been dreaming about them since I brought them in March. Now every time someone spots that pastel-colored carton of Mini Eggs in the grocery store, they send me a photo asking when I'm baking again.
Getting the Texture Just Right
I've learned that the difference between a good blondie and a great one comes down to baking time. Pull them out when that toothpick still has a few moist crumbs clinging to it, and you'll be rewarded with that fudgy, almost underbaked center that makes people close their eyes when they take a bite.
Making Them Your Own
Sometimes I swap in dark chocolate chunks instead of white for a more sophisticated version that still has those nostalgic Mini Eggs on top. My sister prefers adding a handful of toasted pecans for crunch, which turns them into something entirely new but equally delicious.
Serving and Storing
These are actually better the next day, after the flavors have had time to meld and that candy shell softens just slightly against the surrounding blondie. I wrap them individually in parchment paper and tuck them into the freezer for emergency dessert cravings.
- Warm a square for 15 seconds in the microwave for that fresh-baked experience
- Serve with vanilla ice cream and watch the Mini Eggs create this incredible crunchy-creamy contrast
- Package them in clear bags tied with pastel ribbon for the cutest Easter gifts
 Save to Pinterest
 There's something about cracking through that candy shell and sinking into warm, buttery blondie that feels like pure happiness in every bite.
Recipe FAQs
- → Can I make these ahead of time?
-
Yes, these blondies stay fresh for up to 4 days when stored in an airtight container at room temperature. They actually develop more flavor on day two as the chocolate settles.
- → How do I get gooey blondies?
-
Bake at the lower end of the time range (22 minutes) and remove when a toothpick comes out with moist crumbs. The center will continue setting as it cools, resulting in that perfect gooey texture.
- → Can I freeze these blondies?
-
Absolutely. Wrap individual squares tightly in plastic wrap and freeze for up to 3 months. Thaw at room temperature for 1-2 hours before serving.
- → What can I use instead of Cadbury Mini Eggs?
-
You can substitute with M&M's, chopped chocolate bars, or seasonal chocolate-covered candies. The key is using something crispy that adds texture contrast to the soft blondie base.
- → Why did my blondies turn out cakey?
-
Overmixing the batter can develop too much gluten, creating a cakey texture. Mix only until just combined, and don't overbake—pull them out when slightly underdone for that fudgy consistency.
- → Can I add sea salt?
-
Yes! A sprinkle of flaky sea salt on top before baking creates a gourmet salted chocolate flavor that balances the sweetness beautifully.