 Save to Pinterest
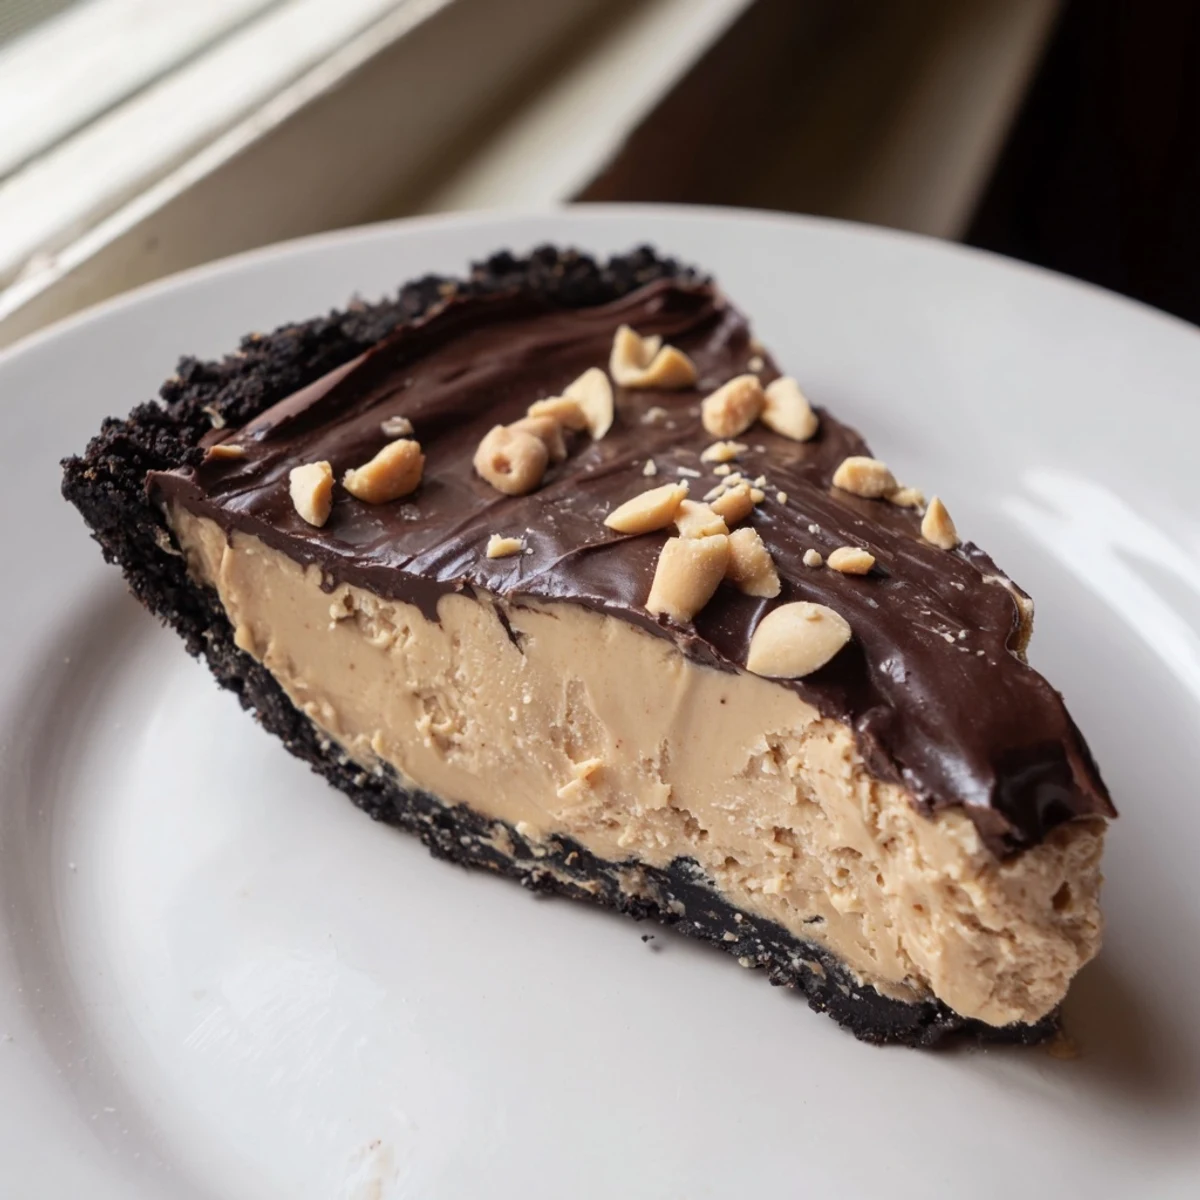
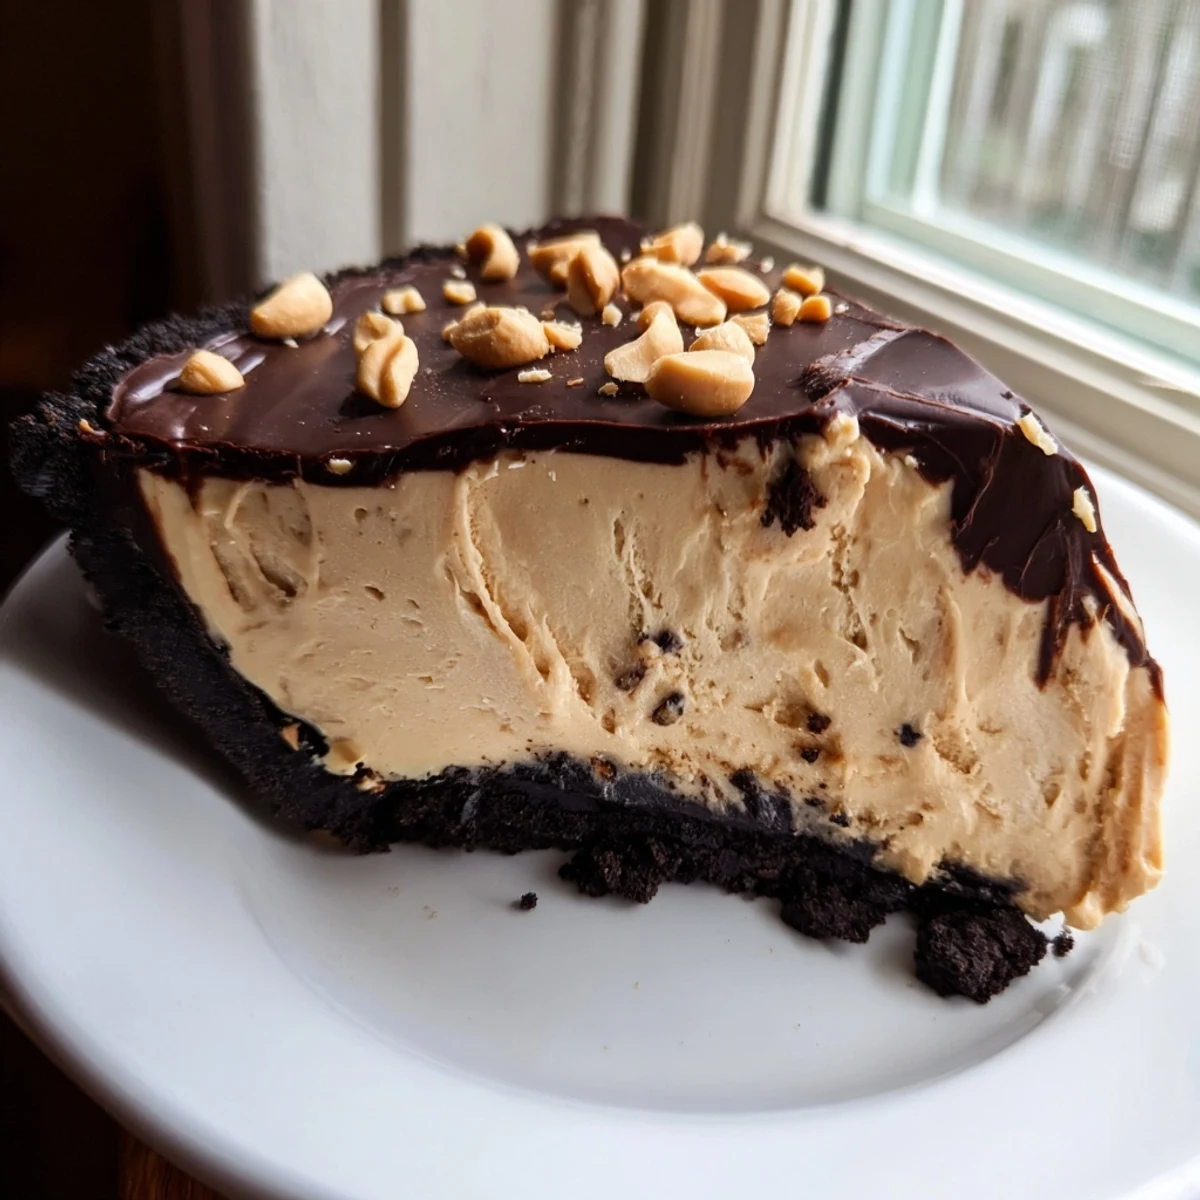
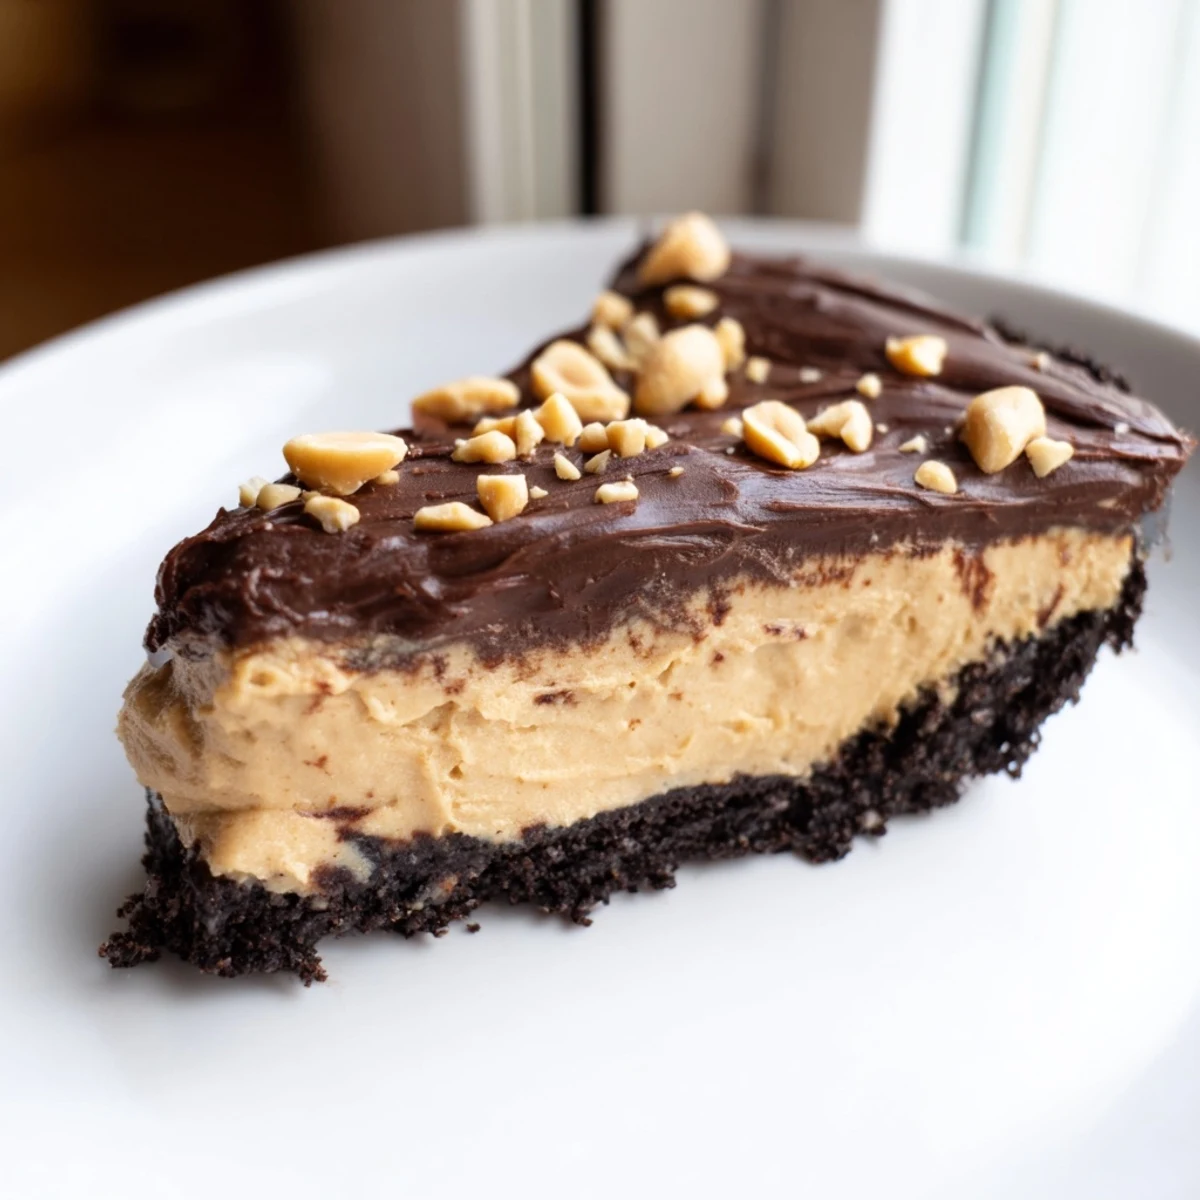
 This luscious dessert combines velvety peanut butter filling with a crunchy chocolate cookie base. The filling blends creamy peanut butter with smooth cream cheese and whipped cream for an incredibly light yet rich texture. Optional chocolate ganache topping adds an extra layer of indulgence.
Simply press the cookie crumb crust into your pie dish, whip up the creamy filling, and chill for four hours. The result is a perfectly sliceable pie that balances sweet, salty, and chocolatey notes in every bite.
Ideal for make-ahead entertaining, this dessert keeps beautifully in the refrigerator for days. The no-bake method means your oven stays free, and minimal active time lets you focus on other preparations while it chills to perfection.
The first time I made this peanut butter pie, I was running twenty minutes late for a potluck and frantically crushing chocolate sandwich cookies with a rolling pin while my cat watched judgmentally from the counter. By the time I arrived with this no-bake masterpiece, my friends were too busy fighting over the last slice to notice I'd forgotten the decorative peanuts on top. Now it's the dessert I turn to whenever I need something impressive that doesn't require turning on my oven.
I brought this to my sister's summer barbecue last year, and her father-in-law—who usually skips dessert—went back for seconds. The way the sunlight hit that glossy ganache topping made it look like something from a bakery window, but the real magic happened when everyone realized it tasted even better than it looked.
Ingredients
- 200 g chocolate sandwich cookies: I crush these whole, filling and all, because that cream center adds an extra layer of sweetness to the crust
- 75 g unsalted butter, melted: Melt it completely and let it cool slightly so it binds the crumbs without making them soggy
- 240 g creamy peanut butter: Use a commercial brand like Jif or Skippy for the smoothest consistency, though natural peanut butter will work in a pinch
- 225 g cream cheese, softened: Leave it out for at least an hour so it incorporates smoothly without any lumps
- 120 g powdered sugar: This sweetens the filling while keeping that silky texture that granulated sugar would ruin
- 240 ml heavy cream, cold: The colder your cream, the faster it will whip to those perfect stiff peaks
- 1 tsp pure vanilla extract: Don't skip this—it rounds out the peanut butter flavor beautifully
Instructions
- Build your chocolate foundation:
- Crush those cookies into fine crumbs using a food processor or the therapeutic method of smashing them in a sealed bag with a rolling pin. Mix the crumbs with melted butter until they stick together when pressed, then firmly press the mixture into your pie dish, working it up the sides to create an even crust. Let it chill while you make the filling—this keeps everything crisp and prevents the dreaded soggy bottom.
- Whip up the clouds:
- Beat your peanut butter, cream cheese, and powdered sugar until you have a silky smooth mixture that holds its shape. In a separate bowl, whip that cold heavy cream with vanilla until you can lift the beaters and the peaks stand up straight without flopping over. Fold the whipped cream into the peanut butter mixture gently—you want to keep all that air you just whipped in, so fold until just combined with no streaks remaining.
- Assemble and crown:
- Spread that gorgeous peanut butter filling into your waiting crust, smoothing the top with an offset spatula or the back of a spoon. If you're making the ganache topping, heat your cream until it's steaming but not boiling, pour it over the chocolate chips, and let it sit for two minutes before stirring into glossy perfection. Spread it over the peanut butter layer, sprinkle with chopped peanuts if you want that crunch, and then the hardest part—waiting at least four hours for it to set completely.
 Save to Pinterest
 This pie has become my go-to for new neighbors and heartbroken friends alike—there's something about peanut butter that feels like a hug in dessert form. Last Thanksgiving, my grandmother who never touches sweets asked for the recipe, and I think that's the highest compliment this pie will ever receive.
Making It Your Own
Sometimes I swap the chocolate cookie crust for pretzels when I want an extra salty kick, and the combination has become a family favorite. The crunch against that creamy filling is something else entirely.
Getting Ahead
You can make this pie up to two days in advance, though the crust might soften slightly after the first day. I've actually found that the flavors meld together even more beautifully with some time to sit in the refrigerator.
Serving Suggestions
A room temperature slice has the silkiest texture, so I take the pie out about fifteen minutes before serving. If you really want to impress, drizzle each plate with warm salted caramel sauce and watch people's eyes light up.
- Fresh whipped cream piped around the edges makes this look bakery worthy
- A pinch of flaky sea salt on top cuts through all that richness perfectly
- Chill your knife in hot water between slices for the cleanest cuts
 Save to Pinterest
 This is the kind of dessert that makes people remember why they love homemade treats—no fancy techniques required, just simple ingredients coming together into something extraordinary. Store any leftovers covered in the refrigerator, though in my experience, there usually aren't any.
Recipe FAQs
- → How long does the pie need to chill?
-
The pie requires at least 4 hours in the refrigerator to set completely. This chilling time allows the filling to firm up for clean slicing. You can make it up to 2 days in advance and store it covered in the refrigerator.
- → Can I use natural peanut butter?
-
Natural peanut butter can work, but the texture may be slightly softer due to the oil separation. For best results, use a stabilized commercial creamy peanut butter. If using natural variety, consider extending chilling time or adding an extra tablespoon of powdered sugar to help firm the filling.
- → What type of cookies work best for the crust?
-
Chocolate sandwich cookies with cream filling create the ideal crust texture and flavor. The filling helps bind the crumbs together. Oreos or similar sandwich cookies work perfectly. For gluten-free options, look for certified gluten-free chocolate sandwich cookies.
- → Can I make this without the chocolate topping?
-
Absolutely. The chocolate ganache topping is optional. The pie is delicious with just the peanut butter filling. You can also top with whipped cream, additional crushed cookies, or simply serve plain to let the peanut butter flavor shine.
- → How do I store leftovers?
-
Cover the pie dish tightly with plastic wrap or transfer slices to an airtight container. Store in the refrigerator for up to 5 days. The crust may soften slightly over time but the flavor remains excellent. Avoid freezing as the texture can become grainy when thawed.
- → Can I substitute the cream cheese?
-
Cream cheese provides essential structure and tangy balance. Substitutes may alter the texture significantly. For a dairy-free version, you could try vegan cream cheese alternatives, though the final consistency may differ from the original.