 Save to Pinterest
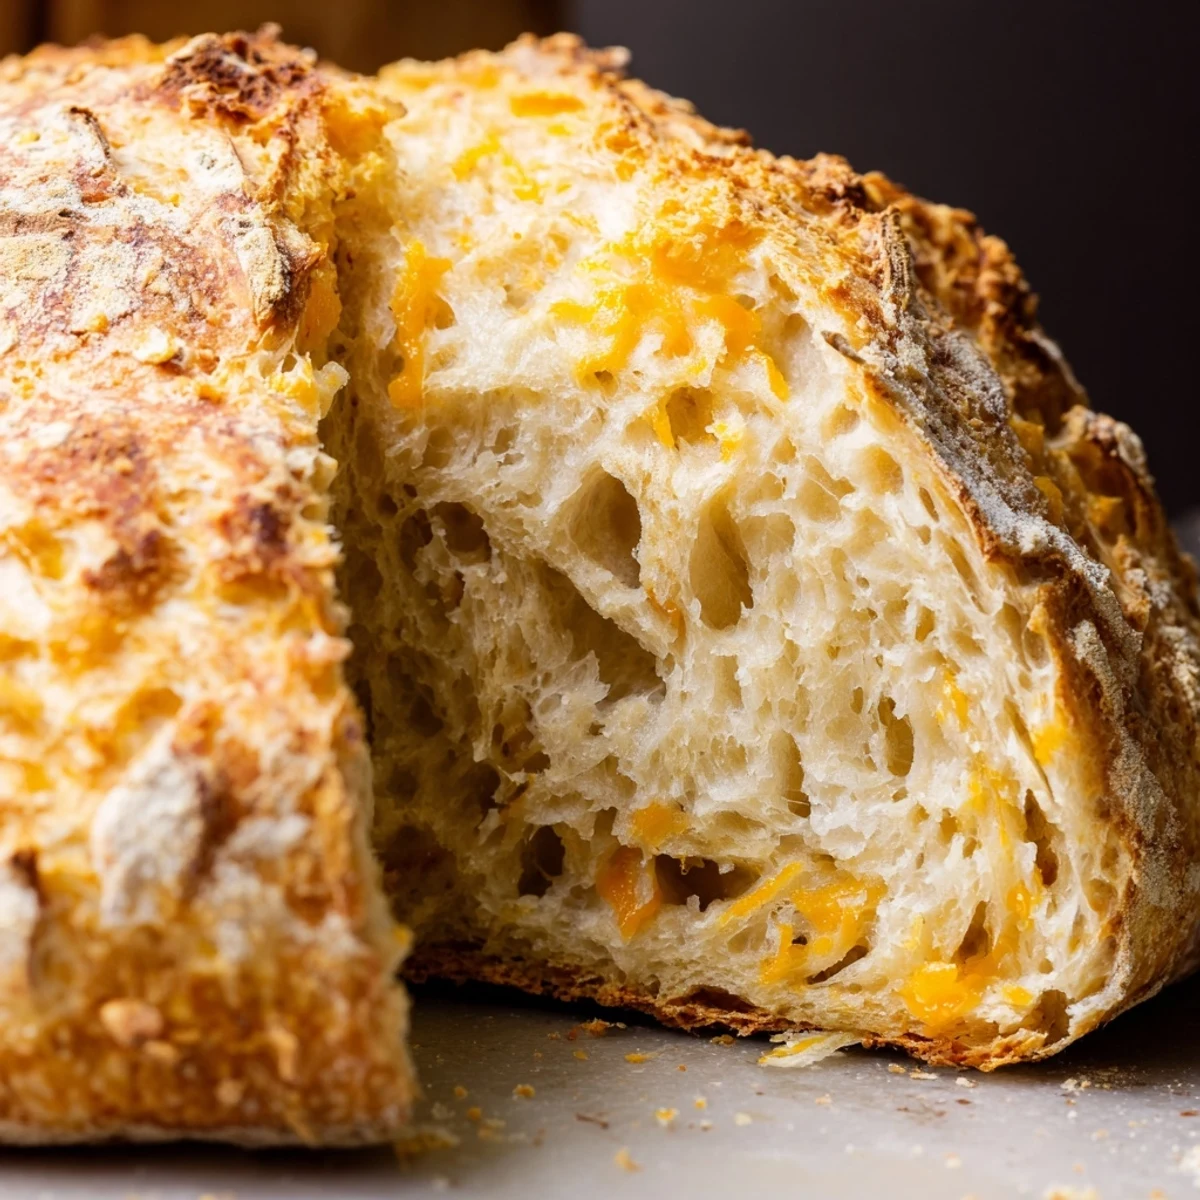
 This rustic cheddar bread delivers impressive results with minimal effort. The dough comes together in minutes using just a wooden spoon—no kneading required. After rising, bake in a preheated Dutch oven for that bakery-quality crust. Sharp cheddar creates a rich, savory crumb perfect for sandwiches or serving alongside soup. The hands-off method makes it ideal for beginning bakers or busy days.
The smell of melting cheddar and baking bread still takes me back to that rainy Sunday when I decided to attempt bread making without any real skills or patience. I had almost zero expectations for this shaggy, sticky mess of a dough that sat on my counter for hours, barely giving it a second thought between loads of laundry and coffee refills. When I finally lifted that Dutch oven lid, the steam escaping revealed this gorgeous golden loaf that somehow felt like cheating after years of watching people knead and struggle with yeast. Now it's my go-to whenever I need something impressive that practically makes itself.
I once brought this bread to a friend's soup night and honestly thought about stopping at the bakery on the way there because I was convinced my homemade attempt would be embarrassingly dense or weird. She kept eyeing the kitchen counter where I'd set it down, and when we finally cut into it, that first cheese pull was so ridiculous we both started laughing. Her husband ate three slices plain, standing at the counter, which is basically the highest review a bread can get in my book.
Ingredients
- All-purpose flour (3 cups/375g): This amount gives you the right structure without needing bread flour, which keeps it accessible
- Salt (1½ teaspoons): Enhances both the bread flavor and brings out the sharpness of the cheddar
- Instant yeast (½ teaspoon): Such a small amount because this long fermentation does all the work for you
- Sharp cheddar cheese (1½ cups/170g): Grate it yourself for better melting and buy sharp for that pronounced cheesy flavor
- Lukewarm water (1¼ cups/300ml): Should feel like bath temperature,激活t hot enough to kill the yeast but warm enough to wake it up
Instructions
- Mix the dry base:
- Whisk flour, salt, and yeast in a large bowl until everything's evenly distributed
- Add the cheese:
- Toss in the grated cheddar and stir until each strand is coated in flour
- Bring it together:
- Pour in the water and mix with a wooden spoon until it's a shaggy, sticky mass with no dry patches
- Let it work:
- Cover tightly and walk away for 3 to 4 hours until it's doubled and bubbly on top
- Heat your pot:
- Preheat oven to 450°F (230°C) with your Dutch oven inside for at least 30 minutes
- Shape the loaf:
- Turn dough onto floured surface, form a round, and place on parchment paper
- Rest again:
- Cover and let it sit for 20 to 30 minutes while your oven finishes heating
- Transfer carefully:
- Lift the parchment and dough into the hot pot using oven mitts
- Bake covered:
- Put the lid on and bake for 30 minutes to create steam
- Finish crust:
- Remove lid and bake 10 to 15 more minutes until deep golden and hollow sounding when tapped
- Cool completely:
- Let it rest on a wire rack for at least 30 minutes before slicing
 Save to Pinterest
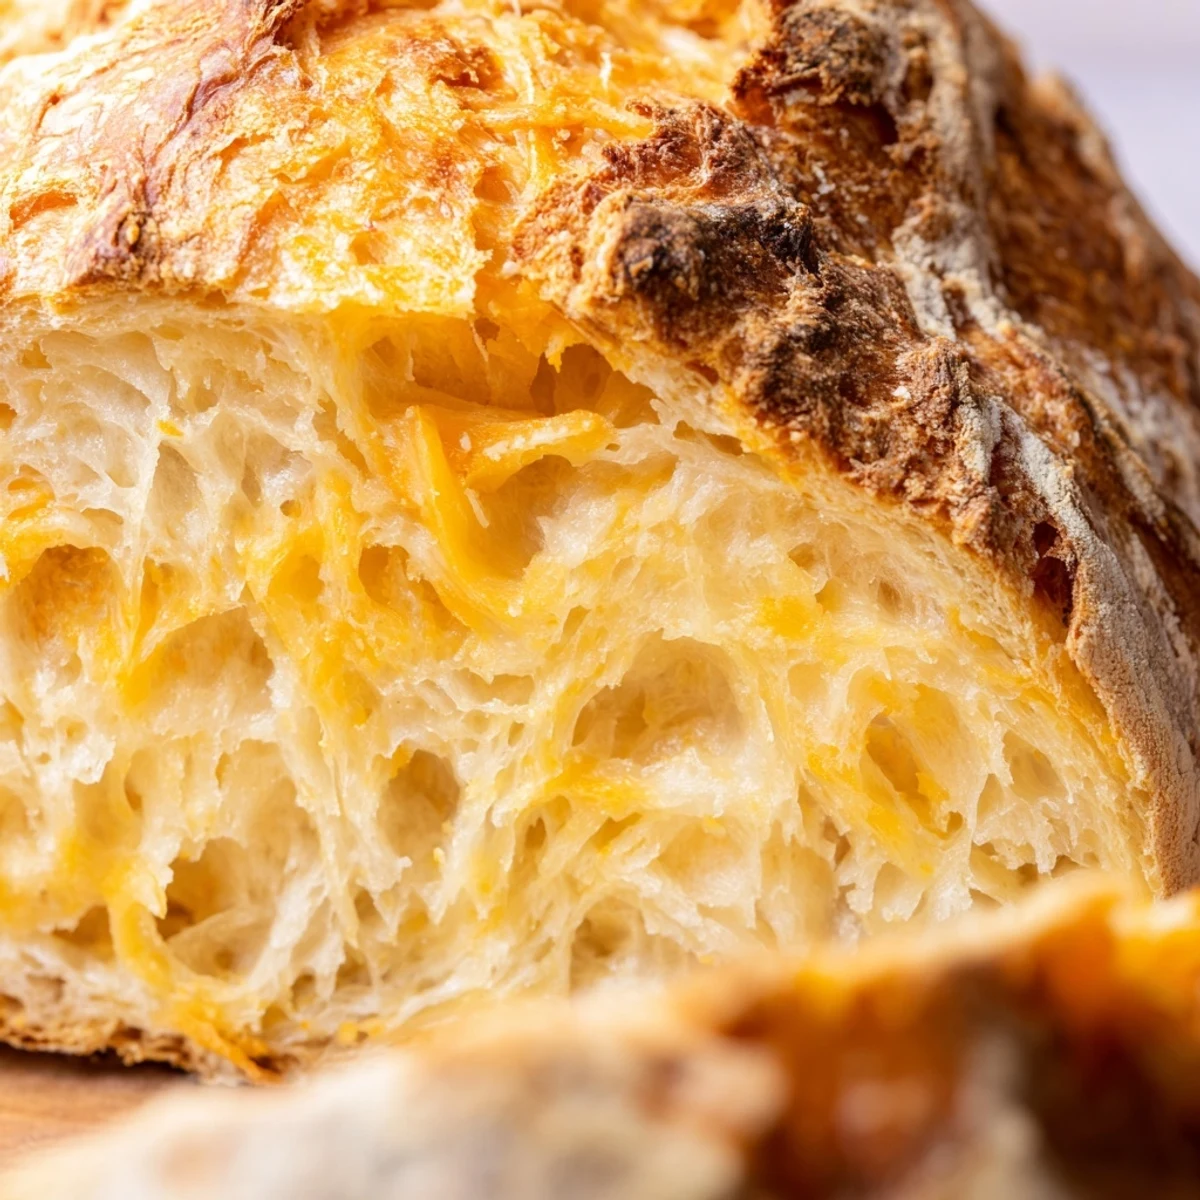
 My neighbor texted me at 9pm one night asking what I was baking because the smell had drifted through our shared wall. I ended up giving her half the loaf while it was still slightly warm, and she texted back five minutes later saying she'd eaten three slices with butter. There's something about homemade bread that makes people feel cared for, even when it's just a simple cheese loaf you threw together between chores.
Getting That Perfect Rise
Your kitchen temperature actually matters here, colder rooms might need closer to 4 hours while warm kitchens might hit the 3 hour mark. Look for bubbles on the surface and that doubled size rather than watching the clock too closely.
Cheese Choices
Sharp cheddar gives the most pronounced flavor, but I've mixed in gruyère or even smoked gouda with incredible results. Just stick to the same total weight and grate everything yourself because pre shredded cheese has anti caking coatings that mess with the dough.
Storage And Freezing Tips
This bread honestly tastes better on day two, once the cheese has settled and the flavors have melded together. Store it cut side down on a cutting board, never in plastic which makes the crust soggy.
- Wrap slices individually and freeze them for emergency toast situations
- Refresh day old bread in a 350°F oven for 5 to 10 minutes
- Leftovers make the most incredible grilled cheese sandwiches you've ever had
 Save to Pinterest
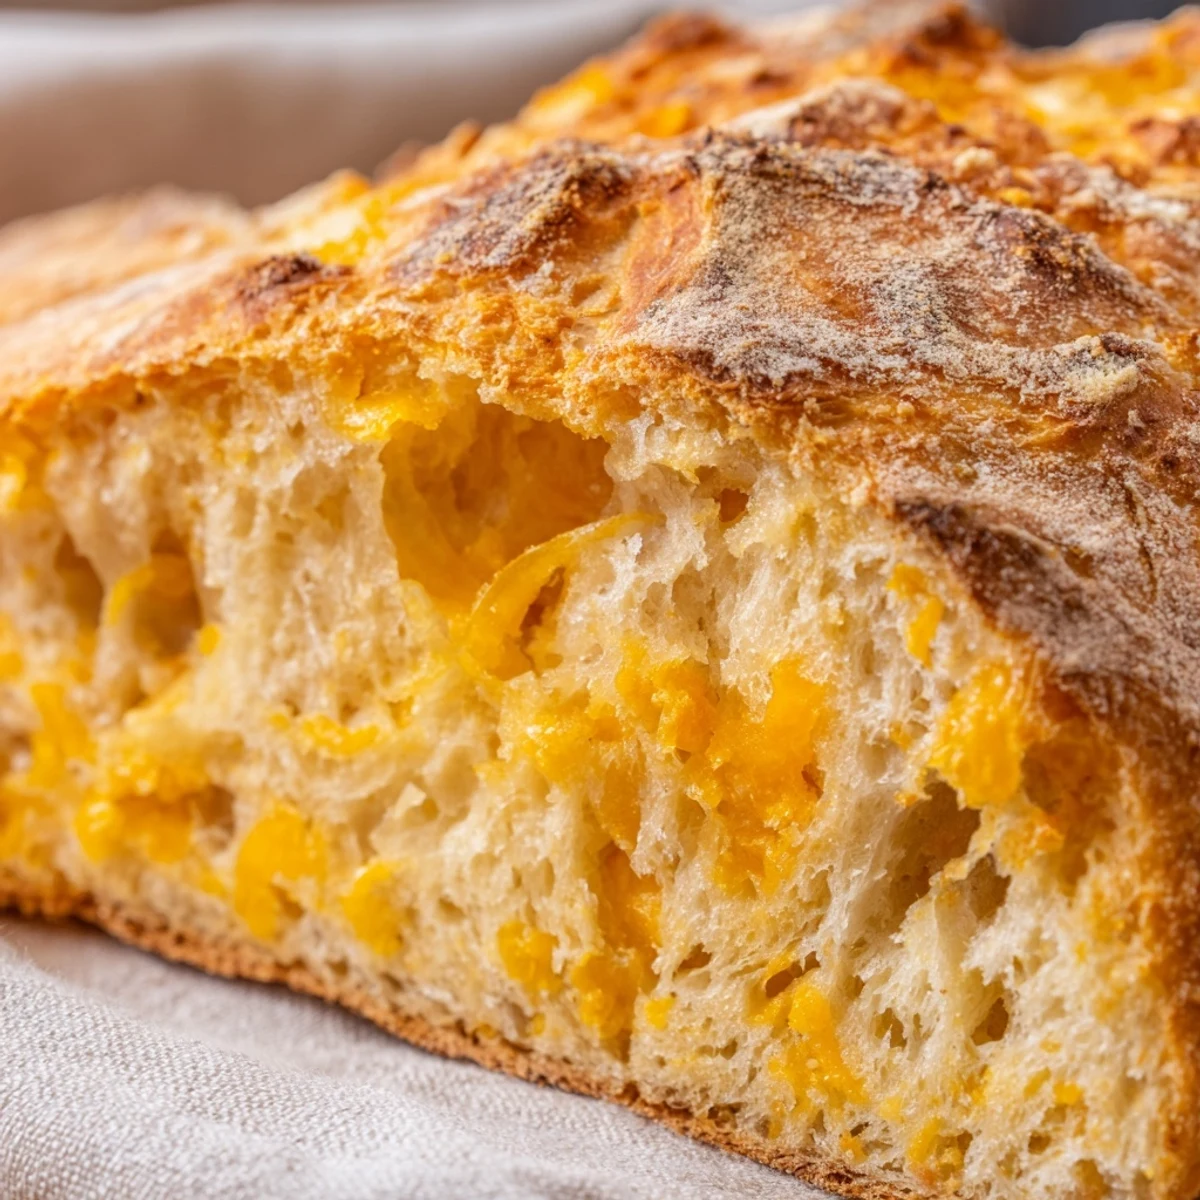
 There's something deeply satisfying about serving bread you made yourself, especially when it looks this impressive and required basically zero effort. Enjoy every cheesy, buttered slice.
Recipe FAQs
- → Can I use other cheeses besides cheddar?
-
Absolutely. Gruyère, Swiss, smoked Gouda, or Monterey Jack work wonderfully. Just grate the cheese finely and use the same amount as cheddar. Mixing multiple cheeses creates depth of flavor.
- → Why must I bake in a Dutch oven?
-
The Dutch oven creates a steamy environment that develops a thick, crisp crust while keeping the interior tender. A heavy pot with a tight-fitting lid works similarly—cast iron enamel is ideal.
- → Can I add herbs or spices to the dough?
-
Fresh herbs like rosemary, thyme, or chives enhance the flavor beautifully. Add 2 tablespoons chopped herbs with the flour. Chili flakes, garlic powder, or onion powder also pair well with cheddar.
- → How should I store the bread?
-
Wrap tightly in plastic or store in a sealed bag at room temperature for up to 2 days. For longer storage, slice and freeze in a freezer bag. Thaw slices at room temperature or toast directly from frozen.
- → Can I make this gluten-free?
-
Standard gluten-free flour blends may not achieve the same texture. A blend specifically designed for artisan breads, plus xanthan gum, offers better results. Expect a denser crumb and adjust hydration as needed.
- → Why does the dough need to rise for so long?
-
The long rise allows yeast to develop flavor and structure. The shaggy, sticky dough needs time for gluten strands to form naturally. This slow fermentation creates better taste and texture than quick methods.